Welcome to our Budget DIY Kitchen Remodel project. Links to each step of the project can be found on our Budget DIY Kitchen Remodel home page.
They say the best way to begin is to begin, and for us that means it’s time to tear out our cabinets. The first step was simple: we carefully unscrewed each cabinet door from its frame and hauled each one into the garage for stripping and sanding.
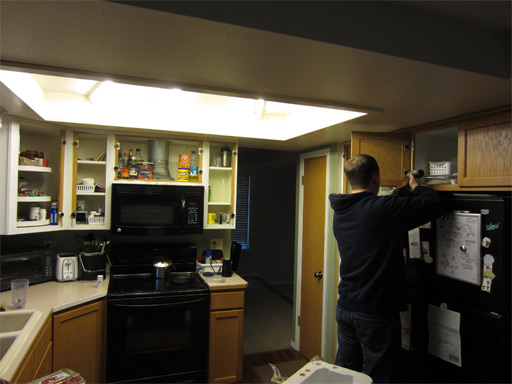
 Here we are with all the cabinet doors removed.
Next step? Removing the cabinet frames from the range’s wall. The first cabinet was held in place with a bunch of glue and metal.
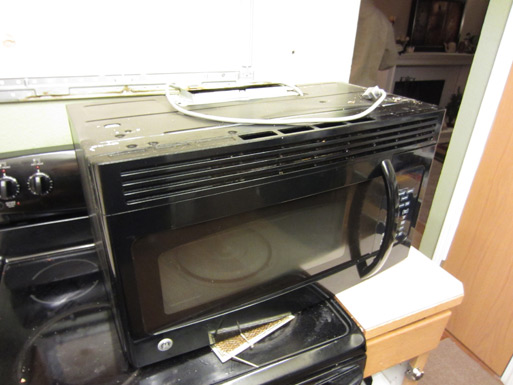
The microwave was heavy – and its sides were somehow caked with cooking oil, which really grossed us out. Wear your work clothes, kids.
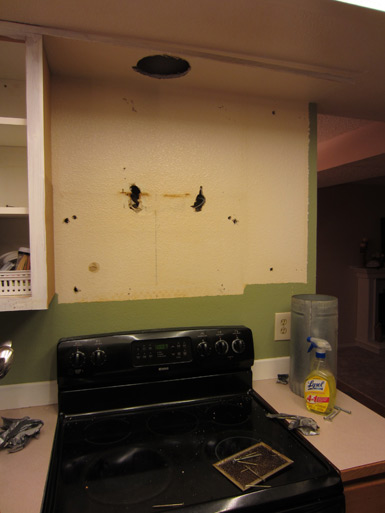
And here’s our scary ugly bare wall, now sans-microwave and cabinet. 
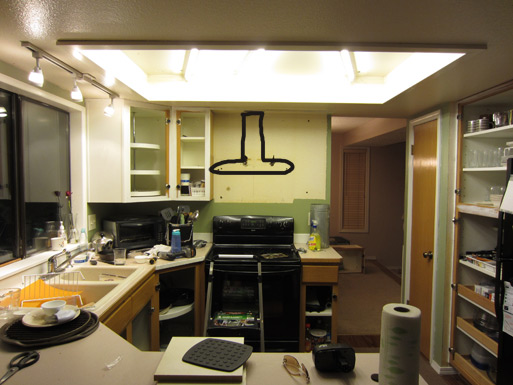
Here’s where we left off. The microwave and narrow cabinet to the right of it are gone, and all of the removable cabinet doors are in the garage, getting stripped, sanded, and primed. The cabinet to the right of the sink is coming down, too, we just need to make space for it and move the toaster oven out of the way.
All in all, removing our own cabinets was easy and straightforward. If you’re looking to cut costs on your kitchen remodel, tearing out some or all of your own cabinets can save you a bit of contractor costs. All you need is a drill and a bit of “elbow grease”.
Meanwhile, in the garage, I started preparing the cabinet doors for painting.


