Welcome to our Budget DIY Kitchen Remodel project. Links to each step of the project can be found on our Budget DIY Kitchen Remodel home page.
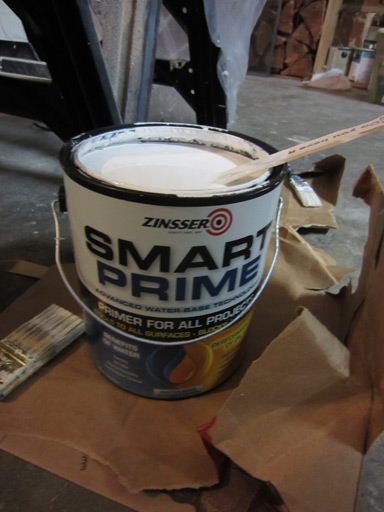
With the cabinets sanded, wiped, and dried, it’s finally time to put some primer on. Primer is a special kind of “paint” that helps real paint stick to the wood, and for this project I used Zinsser Smart Prime.
2014 Update: It’s been 2 years and the cabinets still look newly painted. I highly recommend Zinsser smart prime and the priming steps that follow.
Priming the Cabinets
After the sanding was complete, I prepared my Zinsser Smart Prime just like normal paint: open can, stir, pour into a small roller tray.
My 4” foam roller is not pictured, but getting the primer on was a straightforward process: wet the roller with primer and roll it onto the cabinet door in a thin coat! I worked quickly to get everything done while the primer was still wet, and I was careful not to let primer pool in corners.
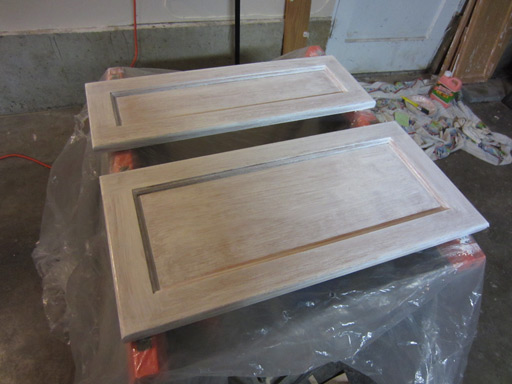
Primer seems to lack the thick coverage of latex paint, but the idea is to help paint adhere to a surface, so maybe it’s more like a glue. This is one coat:
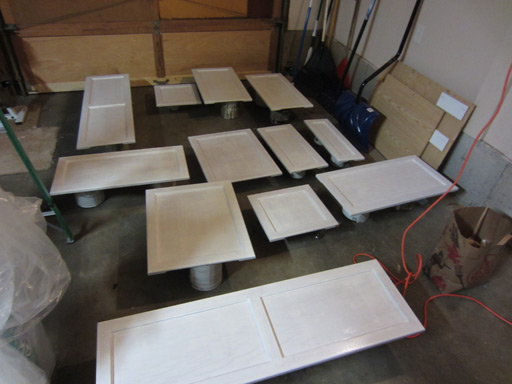
An hour or so later, all the cabinet doors are drying! We propped them up on paint cans (we have a lot of paint cans) so the primed sides can dry “floating”.
I finished these Tuesday night, and they sat like this drying for 4 days until Saturday morning when I flipped them all over and primed the backs.
On Tuesday and Wednesday evening we stripped, deglossed, sanded, and primed all of the cabinet framework inside the kitchen itself. This part went surprisingly quick, even though the framework required considerably more precision than the cabinet doors.


