( To the tune of Winter Wrap Up ! )
Yesterday (Saturday) was one of those marathon days where all the last pieces come into place for numerous projects around the house! Behold, our death march:
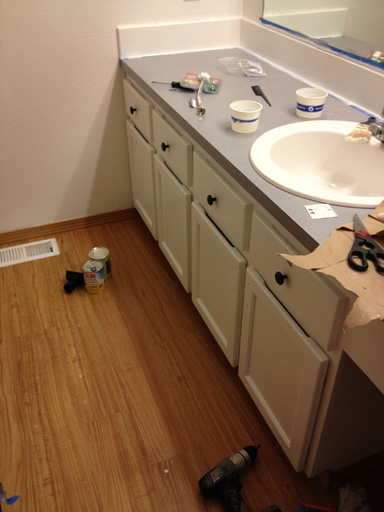
1) Hung the finished cabinet doors in the bathroom
2) Installed the new knobs and pulls (except for the big drawer, which needs a knob that fits a larger screw than the rest of them)
3) Stuck on little clear bumpers to prevent the painted wood from knocking against the frame when the drawers and cabinets close.
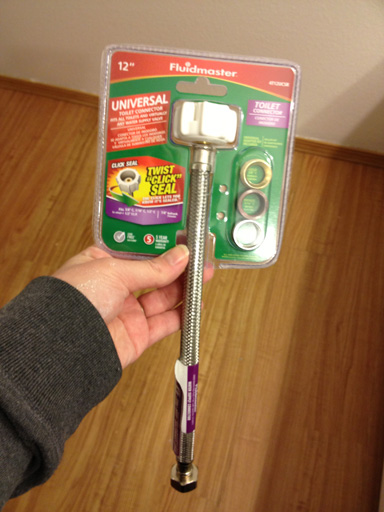
4) Installed a new water supply for the toilet, which has been leaking despite efforts at tightening the bolts. This sweet water supply kit came with multiple washer sizes, which was great because I had no idea what size ours would need and our Home Depot is annoyingly far.
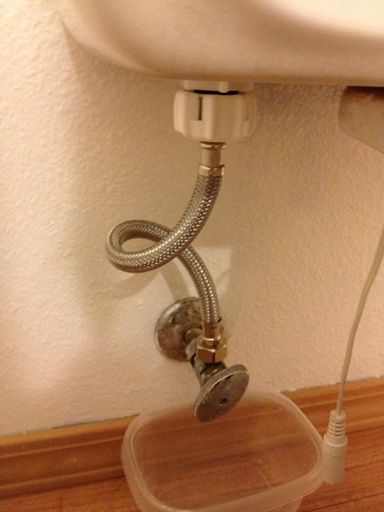
Here’s the awkward and corroded metal pipe it replaced:

Draining the toilet tank: 
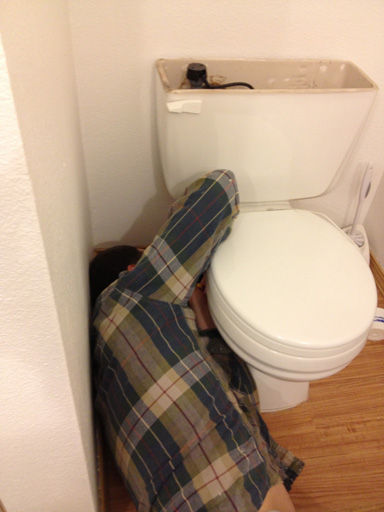
Working in the awkward toilet cubby:
It’s off!

It’s on!
5) In the spirit of finishing long-overdue projects, we finally installed the drawer pulls onto the kitchen’s two drawers.
Here we are lining up the template… 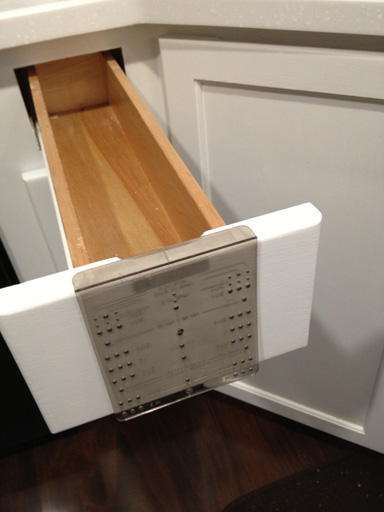
…drilling…
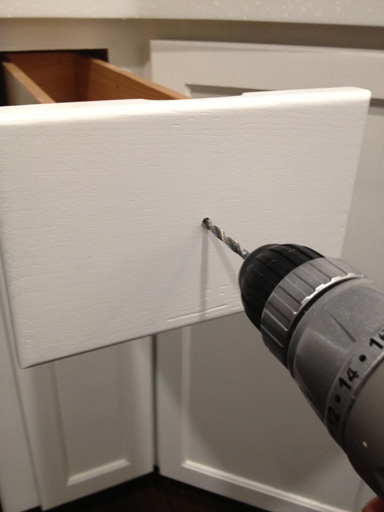
…done! Why did we put this off for 8 months? I have no idea.

6) ATE THIS DELICIOUS BLUEBERRY BREAD OMG

7) Shut off the electricity to downstairs and replaced two receptacles and four switches. The receptacles, even with all their fat hard-to-bend wires, were the easy part for once. The switches gave us far more trouble. After wasting 30 minutes trying to figure out what the hell was wrong with the wiring on the two slider door switches, I called my dad who pointed out that the switches are actually linked and use special hardware referred to as a “3-way switch”. One (surprise) 40-minute trip to Home Depot later, we had the correct hardware and functioning switches.
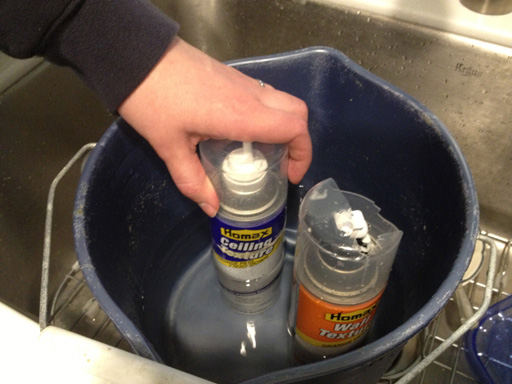
8) Moving right along (now with functional switches and outlets!) we built a plastic cocoon for the range hood and applied spray-on ceiling texture over the now-dry spackle

One secret to successful ceiling texture: warm up the cans in a hot water bath before use
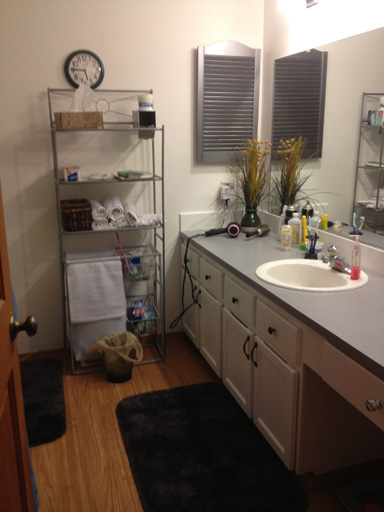
9) Removed all the painter’s tape from bathroom mirror and backsplash
10) Put everything back into the bathroom
11) Installed two shelf brackets under my standing desk to stabilize it. Read about my standup desk project here: Part 1, Part 2.
12) Put everything away: all of the tools, tapes, levels, paint, plastic, work clothes, vacuumed our work areas and basically returned the house to presentable status. This deserves its own step: project cleanup is a project in itself.
13) Collapsed from exhaustion sometime around 8pm. Mission complete!