Today I finished sanding (WOOO) and began priming!
In between those two steps, I spent nearly an hour vacuuming sanding dust out of everything and off every surface about to be primed, and before I actually began painting on any primer, I used this liquid deglosser on every surface I intend to paint (wood and painted frame alike).
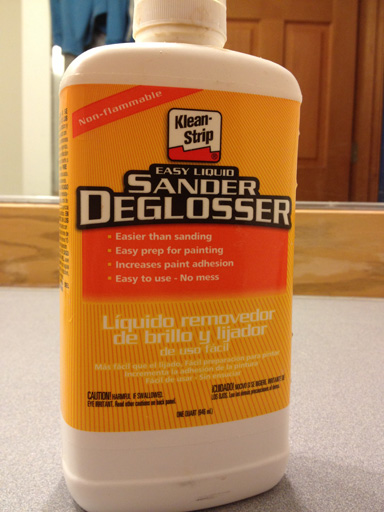
With everything so aggressively sanded this feels like a formality, but hey, anything that helps the primer and paint stick is good in my book (and I already own the stuff).
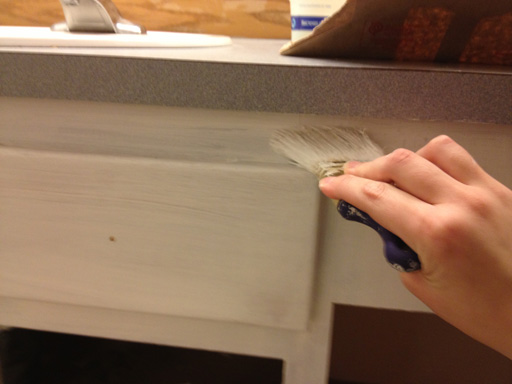
I like to apply paper-thin coats of primer. There are many advantages to this: 1) cuts down on primer use (primer is for holding paint on, it’s not for coverage – that’s what paint’s for); 2) reduces the chances of drips or pooling and 3) dries fast!
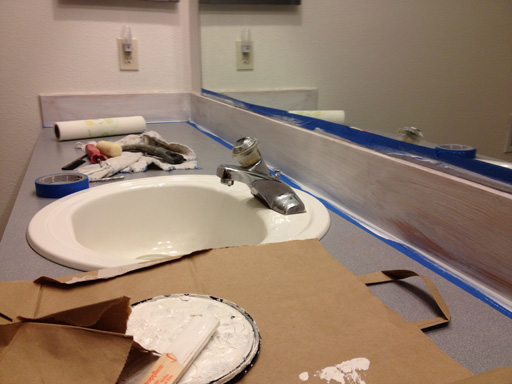
I would have rather pulled out this backsplash in preparation for tiling something, but I’m 99% sure it’s bearing the load of the mirror. Not wanting to deal with removing (and replacing) this gigantic (and really, quite nice) mirror, I decided to make the best of this backsplash situation by sanding and painting it along with the rest of the vanity.
The countertop is lavender (which is probably my least favorite color ever) but I feel like it’s looking a lot more grey as the rest of the room’s lavender (walls, vanity frame) gets painted over. Someday I would like to put another nice solid surface countertop in here, but that can come later.
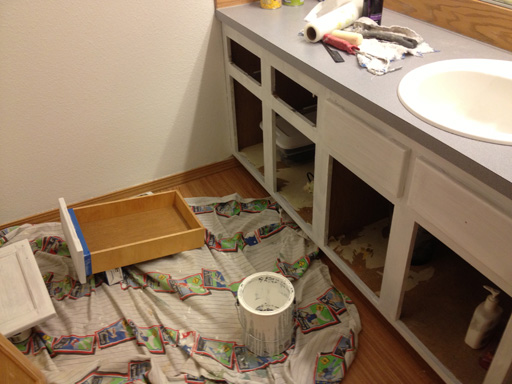
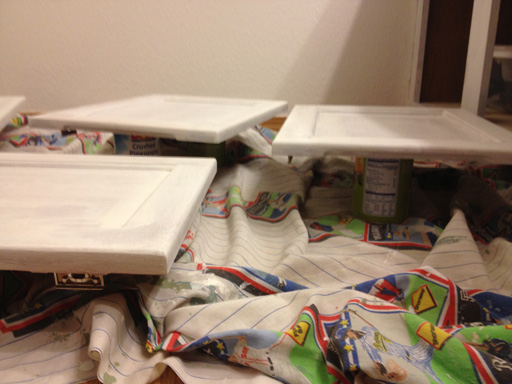
The cabinet doors are sitting atop various canned foods to dry. This method served me well when I was refinishing the kitchen cabinet doors and continues to serve well here, allowing the sides to dry and drips to fall (instead of pooling on an edge).
I am using my favorite primer, Zinsser SMART PRIME, which is the same stuff I used for the kitchen (which has held up fabulously over the past almost-year):

Continue on to Day 4 here!