This is the third post in a series about improving my computer room to serve as a full-time office.
- Day 1: Project kick off and painting
- Day 2: Painting and planning
- Day 3: Trim painting
- Day 4: “After” Photos and Budget Breakdown
It’s Friday, or DAY 3! Time is running out to get this room into shape by Saturday. Here’s what’s left to do:
- One more big wall of grey paint
- Paint the baseboard trim
- Put all the furniture into their new positions
Today’s post is mostly about my trim painting technique. If you’re like me, you 1) like the look of white trim but also 2) balk at the expense of hiring a professional to replace all your trim, especially if it’s functional otherwise.
I’ve talked about my trim painting technique before, but this walk through is much more detailed.
Quick Reality Check:
- My wood baseboard trim is unpainted and unstained, so it’s ready to receive paint without any sanding or stripping. If your trim is already painted or has a glossy varnish, you may need to first strip and sand your trim, which probably cannot be done over your carpet. Or just paint over it and see how it holds up.
- This project takes about a full day for typical size bedroom.
- Be careful! You’ll need to keep track of what sides of your shields have wet paint on them.
Supply List:
- Plastic paint shields – these are cheap and readily available at hardware stores and paint aisles in department stores
- Paint for your trim – You’ll need at least a half gallon. For my house I use Behr in Popped Corn in eggshell finish. Semi-gloss and satin finishes also looks nice on trim
- Paint for your walls
- Small paint brush – this flexible Wooster brush is my absolute favorite
- Painting tape: Optional. Since I paint the walls after I paint the trim, I don’t need to tape the walls to protect them. If you are only doing trim, you may wish to tape along the bottom of the walls where they meet the wood trim.
- Plastic sheets to protect carpet and other stuff that might otherwise become inadvertently exposed to paint
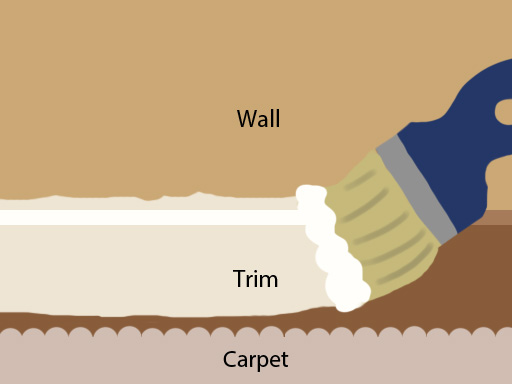
Step 1: Paint the top 3/4ths of your trim.
If your trim’s like mine, it’s going to need a few coats. I like to do this first coat quickly so it can dry as I do other things. I do this I do it before I finish painting the walls so I don’t have to worry about not getting paint on the walls, since painting the walls will cover up any sloppiness here.
I like to do this first coat without bothering with the shields, since setting them up takes time and gets them covered in paint.
Just grab your brush and go quickly over all the trim in your room like so:
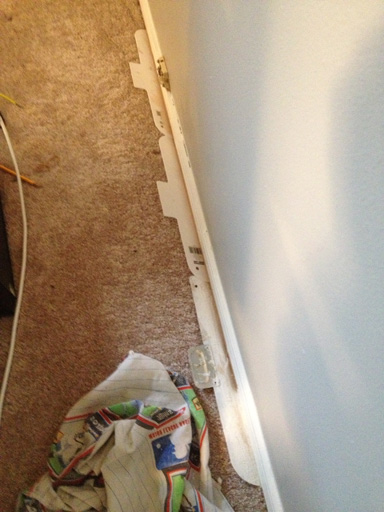
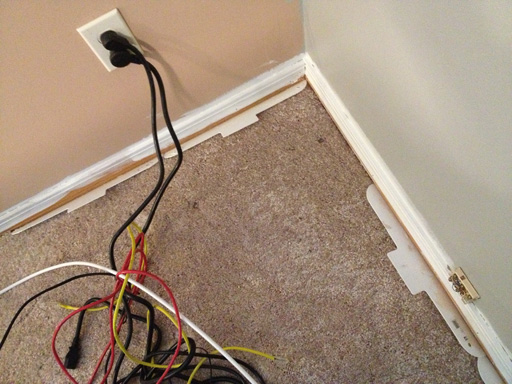
Step 2: Put Shields in Place
Once that first coat is drying on the trim, it’s time to bust out the plastic shields. Stuff your shields between the carpet and the trim, like so:
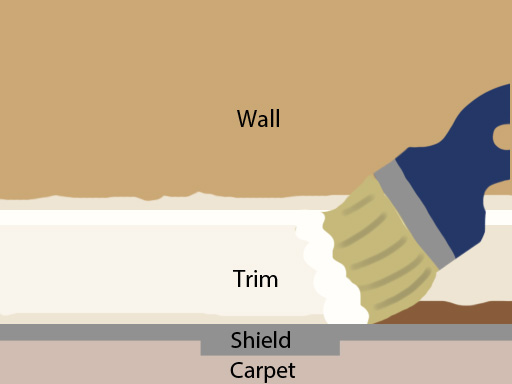
Step 3: Paint the trim again, including the bottom 1/4th this time
Once the shields are in place, you’ll paint the trim again, this time going all the way to the bottom (as far down as the shield allows). Your top 3/4ths get a second coat and the part covered by carpet gets a first coat, which in most cases is sufficient. If you need to do a second coat just leave the shield in place and come back in 10-15 minutes to paint a second coat before removing the shield.
Don’t let paint pool on the shield, and don’t let paint form a bridge between the shield and the trim. If this happens, you may find it difficult to remove the shield. I like to remove the shield before the trim paint is fully dried.
Step 4: Paint the walls while you wait for the trim to dry
Much has already been written about painting walls, but while waiting on the trim to dry is a good time to get it done.
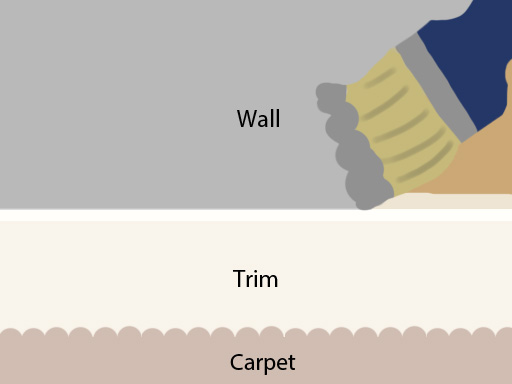
Step 5: Carefully paint the edge where wall meets trim
That’s it! I’m sure there are other ways to get this done, so experiment if you think there’s a faster and better way!
