Ah, just when I thought we were done with plumbing for the year… a wild leaky toilet appears!
While cleaning the computer room’s bathroom, I noticed a thin border of water between the toilet’s base and the floor. My first reaction, of course, was to completely flip out and assume the worst – new toilet, new floor, new bathroom?!?!?
(Yes, the toilet seat doesn’t center on the bowl. Yes, I would love to re-do this entire bathroom.)
BUT… the solution was simple: the toilet just needed to be tightened to the floor! A gap nearly 1/4” in height existed between potty and floor.
Let’s get this potty on the floor. (Let the potty hit the floor… let the potty hit the floor… )
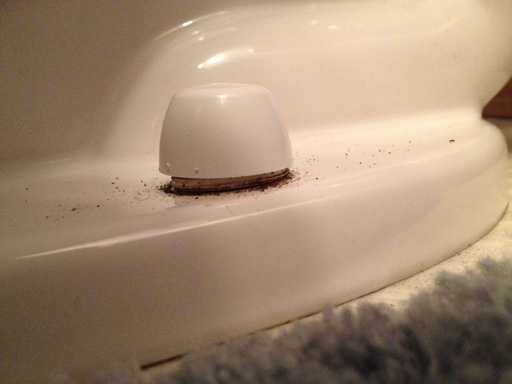
Step 1: Pop the caps off both of the bolts that hold the potty to the floor. This deserves its own step thanks to the thick seal of crusty crap holding the caps on, which I chiseled off with a screwdriver. I knew I was in trouble the second I saw this : the nut wasn’t even on the bolt anymore, it was trapped loose inside the cap.
Step 2: Put the nut on the bolt if it isn’t already, and use a wrench (or a wrench-like tool) to turn the nut clockwise, bringing it down towards the toilet. Apply this to both sides equally – do a few turns on the left, then a few on the right, then go back to the left, etc.
Step 3: Put the caps back on. In this case, the toilet is now too low for the caps and I’ll have to come back and saw the bolts to be a little shorter, but you might be luckier than I was. Either way, this is a minor problem compared with a water leak.
Step 4: Check for leaks 24-48 hours later I like to use some TP for this step, as it’ll absorb anything it finds.
Phew, leak fixed!
Total cost: $0.
Time spent: a couple minutes
Crises averted? YES


