Updated 4/2014! The clear Rustoleum did nothing to slow the rust, but I found an even better technique to prevent yard ornament rust. Alas, it does involve painting the ornaments. I updated this post with all the details!
I’m not usually into yard ornaments, but I might have discovered my gateway drug when I found these big metal salmon-shaped yard ornaments at Bad Blanche in Poulsbo, WA.
The acquisition of one’s first yard ornament is probably where the path into old ladyhood begins, but I don’t care, I freaking LOVE my yard fish!
Alas, you don’t have to be a metal fish expert to know my new yard ornaments are probably going to start rusting the moment I put them into my yard. Here’s what I did to prevent yard ornament rust and keep my yard fish looking adorable.
Supplies
- Metal yard ornament(s) (up to you! Obviously, I am partial to fish)
A can of Rustoleum Rust Inhibitor (mine was about $3.50 from the Home d’Pot, check your local stores)This stuff was useless crap!- A can of Rustoleum Rusty Metal Primer Spray
- A can of Rustoleum Hammered Spray Paint in any color (or whatever paint you like… I hear chalkboard is popular)
- A pot of Turtle Wax car wax
Here’s what DIDN’T work…
The vast majority of Rustoleum products are actually paints. But I didn’t want to paint my yard ornaments a different color, I just wanted to give them a coat of anti-rusting goodness. I tried this Rustoleum “Rust Inhibitor” stuff first – I followed all the directions and gave them plenty of time to dry. I stuck ’em in my yard and within 24 hours they were rusting worse than ever before. DID NOT WORK! If anything, it made them rust faster.

Rustoleum Rust Inhibitor spray: all that stands between my metal fish and the water that will ruin them. How ironic.
Round 2: Preventing Yard Ornament Rust with PAINT and CAR WAX
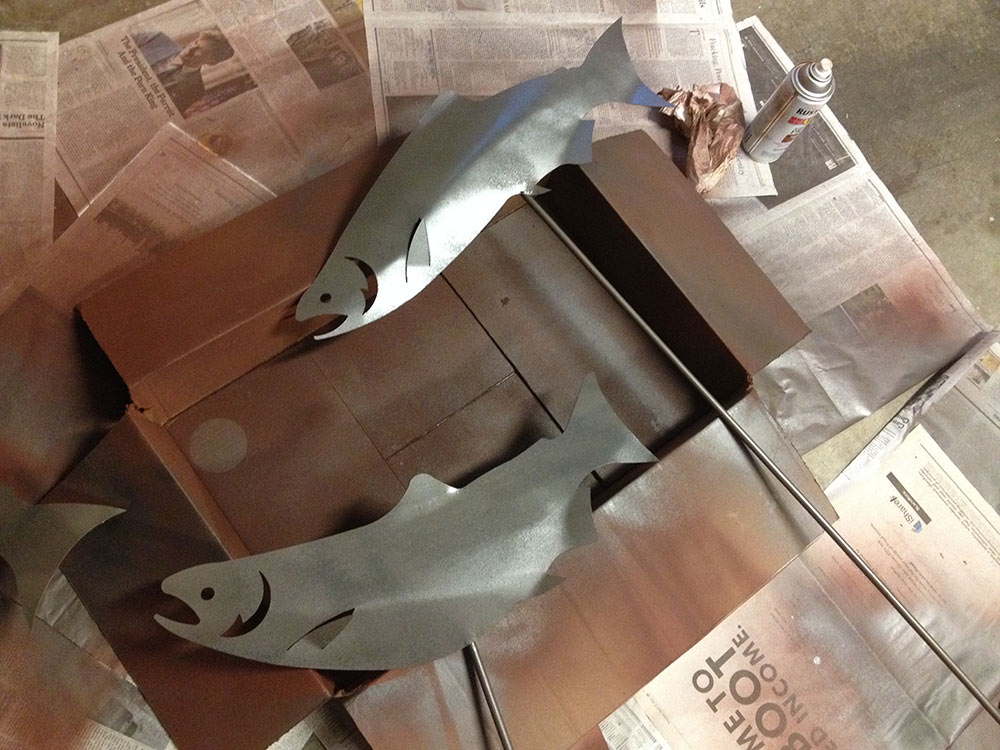
I brought my fish indoors and let them dry. Meanwhile, I went back to the Big Orange Box and bought a can of Rusty Metal Primer Spray. Each fish (I have four now, btw – I went back to Bad Blanche and covered each one in several coats. You know what’s ironic? Covering rust with rust-colored paint. But it looked so good, I considered stopping here.
The rust primer step took several days, since I had to paint one side and let it dry before flipping the fish over to paint the back side.
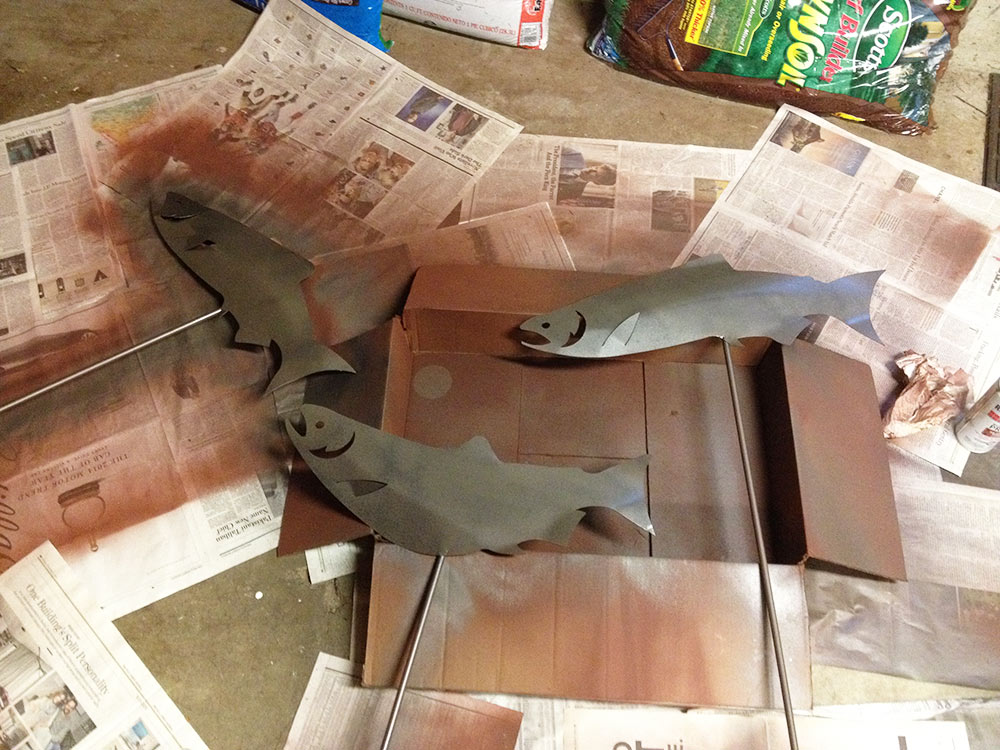
I did 2 coats of rust primer on each side before switching to the Rustoleum hammered metallic paint. I had both a silver-colored paint and a black-metallic paint, and I couldn’t decide which one I liked better so I just alternated and got a nice blend. The can promises a “hammered” look but all that really means is you get little splurts of uneven paint, which worked well for fish but maybe not for things that are actually supposed to be smooth.
Here’s my fish with a couple coats of the metallic outdoor paint:
I gave the fish a good hour+ between coats and I split this project up over the course of a couple weeks (if you were in a hurry, I imagine the whole thing could be done in as little as 2 days).
Workspace Preparation
My first workspace was a neat little box that I carried outside in the grass.
On round 2 of this project, I knew I’d have to do a LOT more painting so I brought the whole thing into my garage. My second workspace was a giant mess of newspaper and paint inside my garage.
No time to explain, help me wax this fish!
Right about the time I was finishing my last coat my dad suggested I wax them like a car. Damn, that’s a good idea!

Turtle Wax goes on my cars AND my fish.
Too bad we didn’t think of it before I spent hours painting the fish! I bet car wax alone would have been enough to keep these fish from rusting. I wax my cars with Turtle Wax, so I already had a pot laying around.
I applied the car wax to both sides of the fish and their posts.
Once the wax was buffed off, it was finally the moment we’ve all been waiting for: time to put the fish in the yard! Best of all, thanks to the wax, the water just beads up and runs off ’em.


Thanks so much for the great tips!
I will be waxing the still good looking ones and spray painting the others this weekend!