We ordered our range hood Monday! It’ll arrive this coming Thursday, so I gotta get to work on this wall situation!
First up: wall repair and priming. I primed the wall (and the ceiling) first, and then got to work on patching the big hole over the range. The old wall mounted microwave had burninated some holes in the wall (at least, that’s what I imagine happened):
And because killing a fly with a grenade is the only way I do things, I cut around all the damage to make a big empty box and reveal two studs onto which I would later mount a new chunk of drywall.
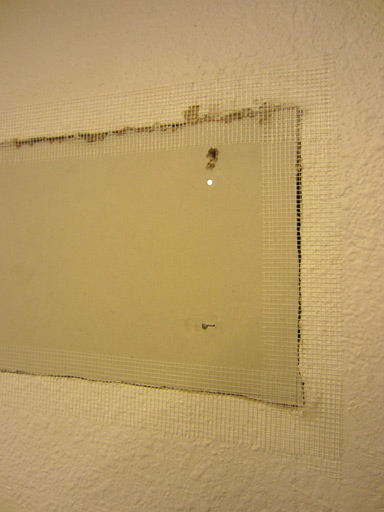
This was easy to repair – all I had to do was cut a rectangle of new dry wall to match the size of the hole and nail it to the studs. Screws didn’t work (pardon the large hole above the nail, lol). I then applied some crazy wall repair mesh tape to cover where the edges meet, and then slathered on a load of spackle.
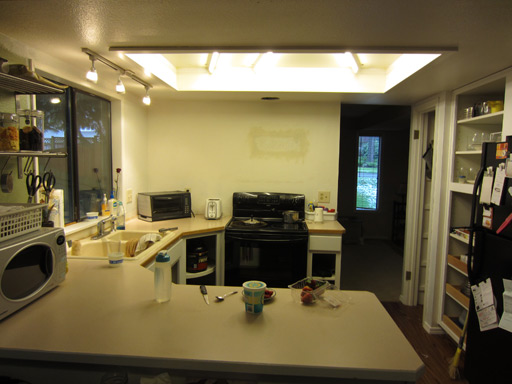
Walls and ceiling freshly primed, rectangular hole repaired and drying!
(No, the kitchen was not magically this clean when I finished. This is after about an hour of cleaning up the mess that painting and drywall repair made. :P)
And in other news, we’ve evacuated the dining room furniture into the living room, which is surprisingly cozy!
This was done in preparation for removing the old carpet from the dining room platform. Everything we do or remove before our contractor starts work on our kitchen sometime in April saves us $$, so we do as much as we can ourselves! Besides, demolition is fun! :)


