New Garage Lights

I don’t know why we put this off for so long.  The two fluorescent lighting fixtures that came with our house’s garage are crap.   One of them is just completely dead, and as if to add insult to injury it randomly pooped out its bulbs onto our car parked underneath it a few months ago (which was super fun to clean up).

It was Dad who got the inspiration to replace these lights on his most recent visit.  He just climbed up the ladder, disconnected the broken one, and proposed a trip to Home Depot for replacement fixtures.

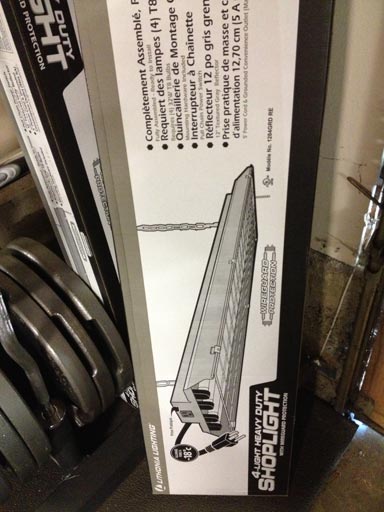
In a matter of about an hour, we went from two of these heavy, broken light fixtures:

GarageLights_3

To two of these awesome ones (with cages, so no more lightbulb pooping).  In case you haven’t guessed, “Heavy Duty” is our favorite phrase.

GarageLights_2

Here’s Dad after hanging one of the fixtures.

GarageLights_1

Here’s our glorious after: a well-lit garage, lightweight lamps, bulbs safely behind cages.

GarageLights_4

This project is a classic example of us letting a simple project intimidate us into not doing it.  We thought working overhead on lighting fixtures would be difficult, if not outright impossible.  We had no idea how easy this could be!

Budget DIY Kitchen Remodel: Contractor for Range Hood Electrical

I can’t believe it’s been 9 months since this range hood went in and we’re still working around the dangling cord.  We thought we could handle wiring the cord into the wall, but to be honest, it’s beyond us.  The wall studs and the existing wiring are beyond our abilities.

So I hired Elkay Services to finish the job, plus knock several additional items off my to-do list:

  • wire the range hood into the wall (thus getting rid of its cord)
  • repair the overhead lights that lost power while I was hammering the ceiling
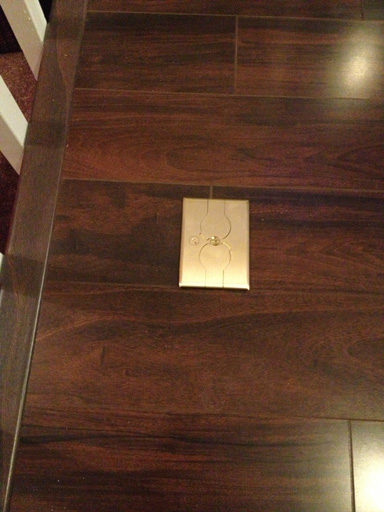
  • cover the floor outlet with an appropriate cover
  • cut and install the range hood’s duct cover (bonus project!)

For about $400 this was completely worth it.  Here’s how it all turned out!

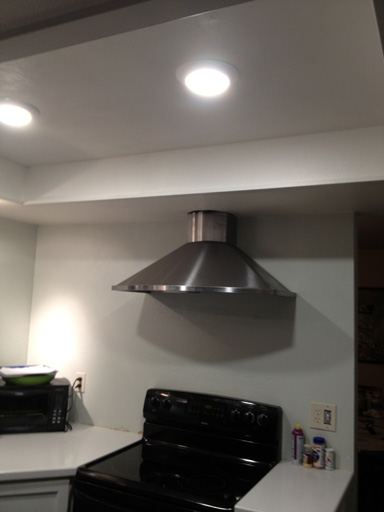
Range hood before, with exposed/taped duct and dangly cord:

electrical_range_before


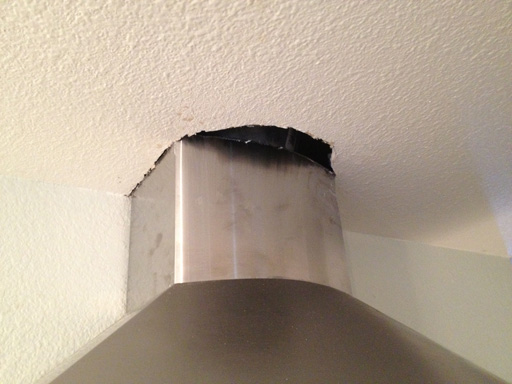
Range hood after, now wired into the electrical within the wall and with the duct cover cut to fit.  (Notice the gap between the duct cover and the ceiling – I’ll be patching that ceiling hole myself in the near future.)

electrical_no_cord


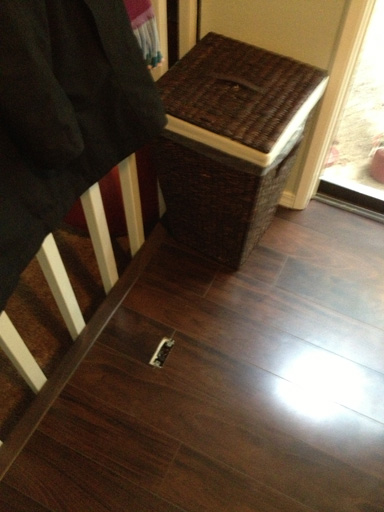
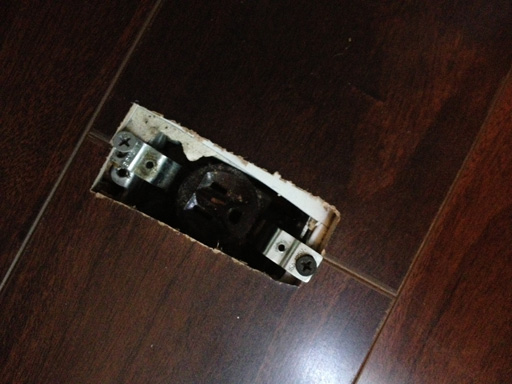
Floor outlet, before:

electrical_floor_outlet_before

electrical_floor_outlet_before2

Floor outlet, after:

electrical_floor_outlet


Forward progress, whoo!  My next kitchen project will be patching the ceiling hole near the range hood duct exposed when the tape was removed:

kitchen_rangehoodgap