Our floor contractor is arranged! We considered installing it ourselves to save money (half the total flooring cost), but there’s just too much of it and with both of us working full time it’s just not going to be feasible to install flooring into our kitchen, dining room, hall, and bathroom. Alas. But – we can still save a lot of money by ripping up the existing flooring. There are many layers of existing flooring in this house, and each room is different.
Since we want a consistent flooring throughout the downstairs, we’ll have to say goodbye to the hardwoods in the entry and the bathroom. There’s no way to match so we’d just as well tear it all out down to the subfloor and put the same floor into all areas.
Now it’s time to RIP UP SOME FLOORS!
Tearing up Hardwood & Vinyl Floors
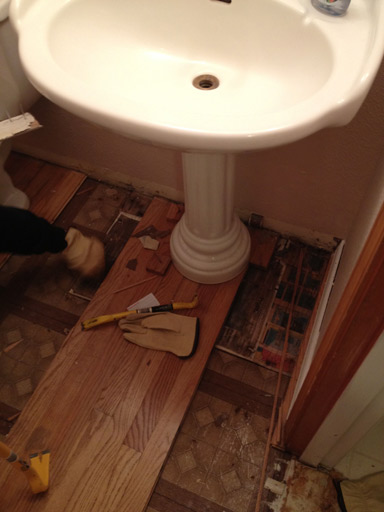
Bathroom flooring layers:
- Hardwood
- Hideous brown vinyl
- Newspaper from 1993 (I shit you not, wtf)
- Hideous orange vinyl
- Subfloor
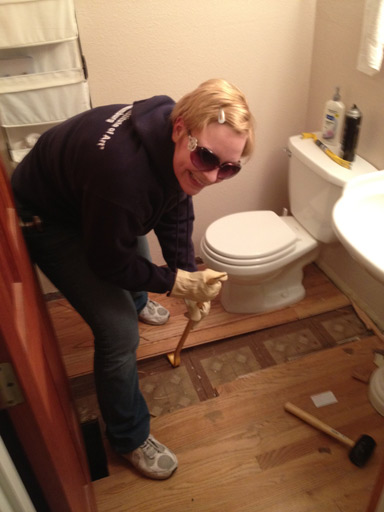
It was hard to figure out where to start in the bathroom. There was no obvious edge to work from. We pulled up a couple small pieces near the heating vent, and then just smashed one board with a crowbar until we got it out. From there, we had access to the rest of them. We pulled out as many as we could without removing the toilet or sink (that’s a project for this weekend).
I don’t know why there is newspaper (from 1993) under the sink. I don’t want to know why.
Tearing up Hardwood Floorboards
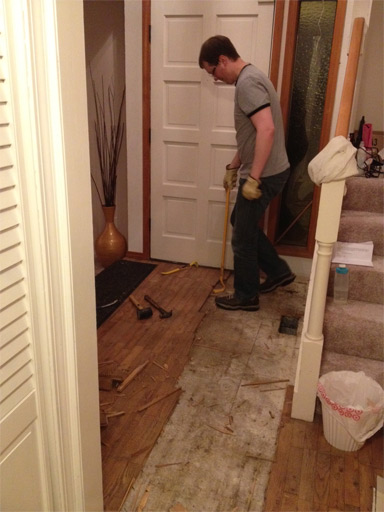
Entry hall flooring layers:
- Hardwood
- Subfloor
Same technique worked in the entry way: destroy one board, pull out its shattered remains, and use the gap to get at the adjacent ones. Removing each board is not easy work, but at least it is doable. We took turns leveraging the boards out one by one. Each one has several nails through it, and not a single one has come out without splintering.
Tearing up Vinyl Floors
Kitchen flooring layers (top to bottom):
- Allure
- White vinyl
- Plywood
- Purple vinyl
- Plywood
- Subfloor
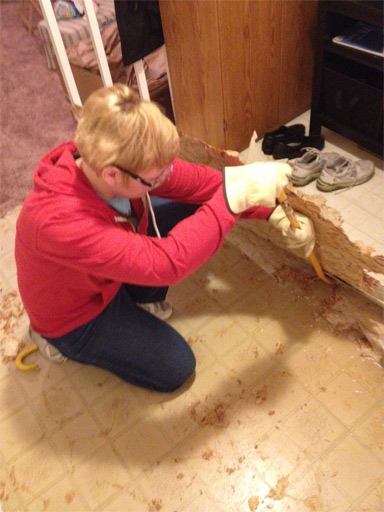
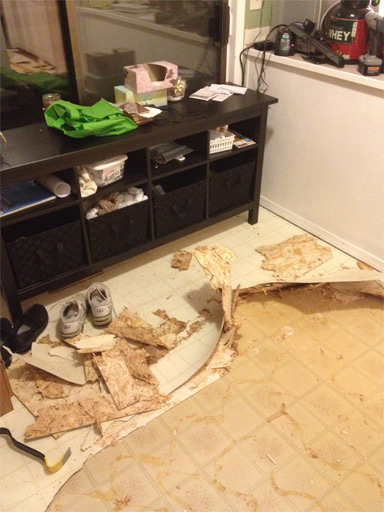
Unfortunately, the hardwoods ain’t got nothing on the plywood and vinyl combo in the kitchen. This crap comes up in tiny bits, requires several swings of the crowbar, a lot of leveraging, and it makes a huge splintery mess. Here I am prying up the largest piece we’ve managed to pull out at once (which took a lot of two-crowbar teamwork).
*BONUS FEATURE* A bizarre ramp made out of white vinyl and plaster to try to make up for the difference in floor thickness where hall meets bathroom. Why? Why not just do it right? :(
1990s vinyl, meet 1980s vinyl. Below that: 1970s vinyl.
Our warzone:
This process took us weeks of chipping away at it before and after work. We saved a fortune, but our sanity is another matter.
