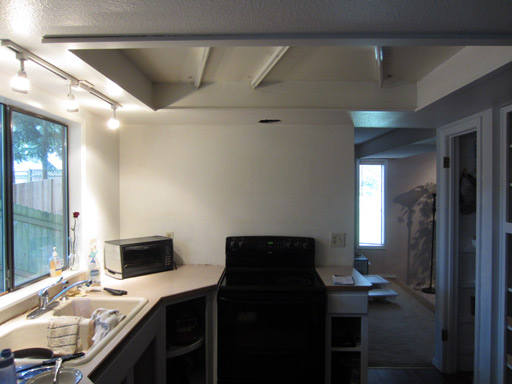
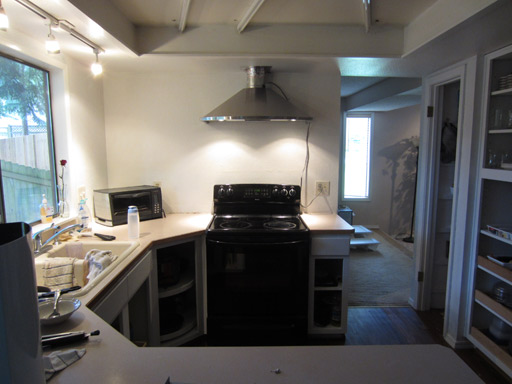
This post is about how we updated our kitchen lighting recess without tearing down ceilings or calling in expensive contractors.
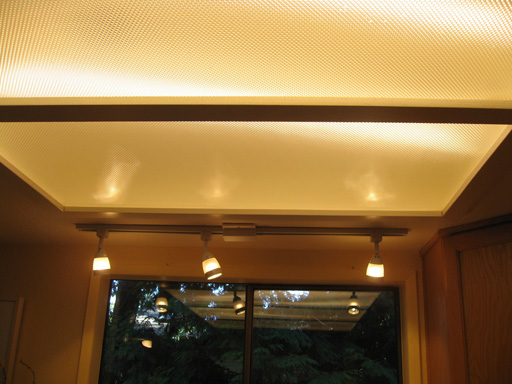
Our house was built in 1977 and I am sure that low ceilings with recessed lights were all the rage back then.
Shortly after moving in, we discovered just how fragile these plastic covers were when we knocked one down. It shattered on the floor. Silver lining: we loved the open ceiling. So much less claustrophobic!
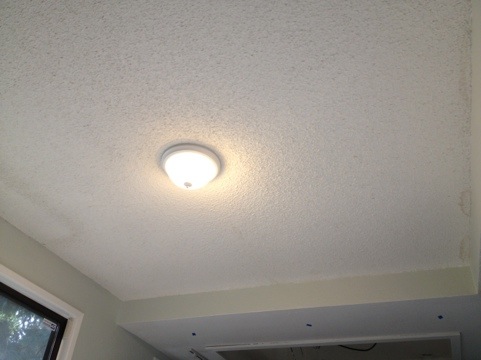
We took all three covers down and left it like this for a whole year while we worked on more important projects. The below photo was taken around the time we pulled out our cabinets and our microwave.
Eventually, we yanked out the fluorescent lights and replaced them with these LED can lights. That process involved cutting the wires to the fluorescent lights, drilling two very large can-sized holes, and wiring in the new LED fixtures. Everything worked great for a few months and then suddenly stopped working. I hired a professional electrician to re-wire it. (Some things are beyond our DIY capabilities, but hiring a guy to do wires is way less expensive than hiring a guy to do the whole job.)
The fluorescent lights left a few holes to patch, which I patched using drywall spackle. Patching the square was the toughest part of this repair, and before he left, my dad mounted a thin strip of wood inside the recess to which I could later attach a drywall square.
But now the time has come to finish this project. The to-do list fit into the scope of one day’s worth of work, including dry times:
- Spackling any remaining gaps
- Plastic-wrapping the work area
- Sanding spackled areas to smooth them out
- Spraying ceiling texture
- Waiting on ceiling texture to dry
- Final painting
Step 1: Spackle – this step is easy, just smear it on (I use my fingers) and let it dry
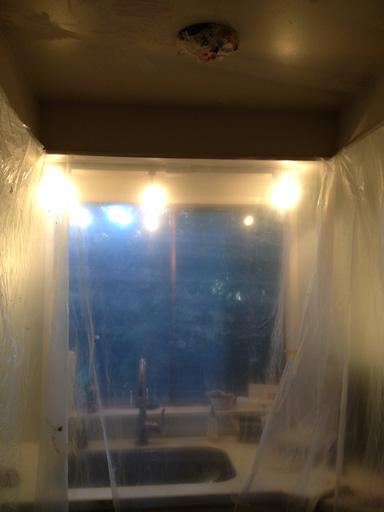
Step 2: Plastic wrapping the work area I used two large clear plastic drop sheets (the kind you find at Home Depot for a few dollars) and masking tape to secure the sheets to the trim that borders the ceiling recess. This step is very important – the mess made in the next few steps is INSANE. The floor was protected with a few layers of plastic and towels.
A view from inside, just to give you a better understanding of the cocoon I built:
I also wrapped the ceiling lights by cutting a giant circle from a grocery bag and taping it around the edge of the lights.
Step 3: Sanding. I used a fine grit sanding block and went slowly. This makes a colossal mess, so I’m glad I plastic wrapped before starting the sanding. I also wore goggles (the junior high science class variety, ordinary glasses won’t do when there’s dust everywhere).
Step 4: Ceiling texture came from a can of texture designed for this purpose, Homax Ceiling orange peel purchased at Home Depot. The reviews on this product are terribly bad, and I don’t know why because this stuff worked fine for me.
I did, however, soak the can in hot water (like the instructions tell you to) for several minutes before using it. My can soak process went something like this: 20 seconds of shaking, 20 seconds in the warm bath, 20 seconds of shaking, 20 seconds in the warm bath, until shaking it did not create a noticeable drop in the can’s touch temperature.
Anyway, this is what the can looks like with the applicator tube in place:
Spraying this stuff goes EVERYWHERE. Don’t let the black tube trick you into thinking this is going to be a precision process. It goes UP and EVERYWHERE. It’s like being in a shower, and it rains back down. You’ll need to be protected head to toe.
Quick interlude: check out my cheap painting hat! I made a hat out of a grocery bag to cover my hair, which turned out so well (and saved me a few $$ on an actual “painting hat”) I thought I’d share it here. All I did was put an ordinary grocery bag over my hair and tied the loops behind my neck.
Anyway, back to texturing the ceiling. I tried to go in an orderly fashion and coat it evenly, but it was hard to see what I was doing in the first place and the wet ceiling texture rain made it that much more difficult. The can only covered about the area of the recess anyway (the instructions lie when it says “80 sq feet”, good luck with that) anyway so I stopped when I ran out of ceiling texture.
Step 5: This step is easy, just wait for it to dry. I spent the waiting time having lunch and painting my master bathroom (because I’m a crazy workaholic the paint was already out, so why not?). I gave it about an hour then I took down the plastic walls to help the ceiling dry faster. Normally I’d keep the plastic to re-use it, but in this case it was just way too messy so that was it for them (glad I used old ones in the first place). Total dry time: I think I gave it about four hours.
Step 6: This step was also easy, I used my favorite Wooster brush and a foam mini roller to paint on a thin coat of the white paint I had on hand, Behr Ultra in Popped Corn in eggshell finish (I swear, we’re not sponsored by Home Depot here at leveluphouse but it would be nice if we were!). It instantly looked a hundred times better with a coat of white paint covering the nicotine-stain yellow that used to be in there.
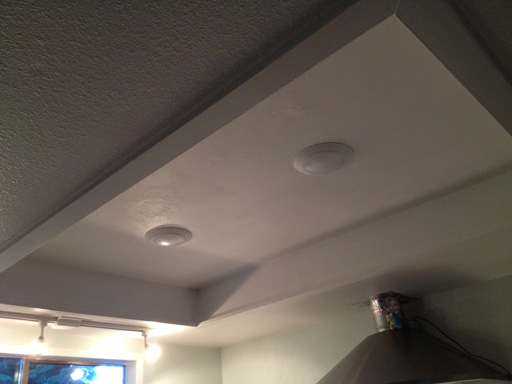
Here’s the finished result.
There’s a little roughness here and there (which probably could have been resolved with more/better sanding) but considering I did it myself for less than $20 it’s not bad at all!
