Welcome to Part 2 of our completely modest, totally DIY kitchen backsplash project! In this post, I’ll tell you what to think about when picking out tiles and how to choose kitchen backsplash tiles for your DIY kitchen remodel.
Catch up on our DIY kitchen backsplash series through these links:
- Part 1 – Planning a DIY Kitchen Backsplash
- Part 2 – Choosing the Right Tiles for your DIY Kitchen Backsplash (You are here)
- Part 3 – DIY Kitchen Backsplash Supply List
- Part 4 – Installing Backsplash Tiles
- Part 5 – Grouting Backsplash Tiles
When I was researching kitchen backsplash ideas, I found that most of what I was reading assumed I had a sky-high budget and a kitchen straight out of Better Homes & Gardens.

Gasp-inducing kitchen is lovely but so not in my budget! Photo credit: suturi.com
My kitchen’s from 1977, and it’s about what you’d expect from a single family standalone home built 30+ years ago.

My actual kitchen!
Contractors we discussed possibilities with wanted to tear out walls and completely change the layout of our downstairs to “modernize” it, but I can’t afford that. So we’re facelifting this kitchen instead of gutting it, spreading the costs out, and doing as much as we can ourselves.
This DIY kitchen backsplash project’s goals are:
-
Simple design – like Legos!
-
Easy DIY installation
-
No tile cutting
-
No tools we don’t already own
-
Under $400 for the whole shebang (most of the cost is in the tiles themselves)
I don’t want (and can’t afford) those crazy counter-to-ceiling tiled walls with glittery tiles cut from slabs found in the enchanted quarry. :)
If yours is too, then read on for Part 2 of our DIY Kitchen Backsplash series: choosing the right backsplash tile!
Your Tile Budget

This diamond tile will set you back just $1 million per square meter
Your tiles will be the single largest expense of your DIY kitchen backsplash. Tile is usually priced by the square foot, and most prices we found were between $18/sq foot and $90+ sq/foot (omg).
If you haven’t yet, take a minute to estimate how much square footage of tile you actually need.
Next, figure out how much you’re willing to spend. The cheapest you’ll probably get away with is $250-$500 (USD) for a modest, short backsplash.
Divide your budget by how many square feet you’ll need. If your budget is $300 and you need 15 square feet, your sheets should cost about $20/each.

Figuring this out before you step into a tile store will save you a ton of time: you can just look at the price first, and if it’s too much, keep looking. You won’t waste time on tile you can’t afford.
Where to Shop for Tiles
We’re in the Pacific Northwest, and our favorite places for tile are The Home Depot (which is where we got our bathroom tiles from) and Tile for Less (which is where we shopped for this project). If Home Depot is the McDonalds of tiles, then Tile for Less is the Olive Garden. Neither are particularly expensive, and both have enough variety for just about anyone, but it’s a lot easier to “splash out” and spend a fortune at Tile for Less.
There are two more reasons to visit Tile for Less.
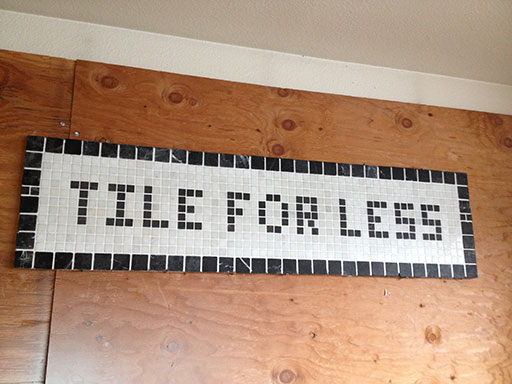
Reason #1 – This awesome Tile for Less mosaic sign:
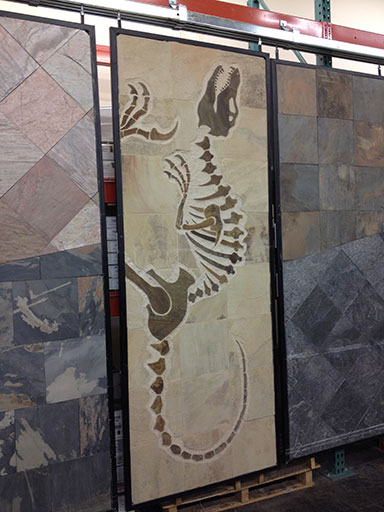
Reason #2 – This faux dinosaur fossil mosaic I pay homage to every time I visit Tile for Less:
There are also tons of online tile stores. I didn’t shop for tiles online; I just wanted to see the tiles in person and find something locally, but I would have ended up online if Tile for Less couldn’t deliver the goods.
What Kind of Tiles To Buy
There are about as many choices in tiles as there are people buying tiles, so a lot of this is up to personal preference.
This is my advice to anyone trying to choose tiles:
-
Neutral colors (white and grey in our case) because I hate experimenting with expensive things that get glued to the wall. Bland colors for things that are permanent, that’s my motto. :)
-
Under $30/sq foot. Just a simple budget preference. Some sheets we liked were $70+ per sq. ft which I think is just insane for a bunch of rocks you glue to a wall. Your mileage will vary here.
-
Must fit under our window sill which is 3 ¾” because I don’t want to turn a countertop project into a window project as well
-
Must include 1” tiles for filling in gaps because I don’t want to cut tiles if I can avoid it
-
Flat surfaces because I don’t want to scrub grime out of wavy tiles or sculpted designs
- It’s hard to go wrong with subway tiles
So, with all that in mind, you’d probably be surprised to know those criteria didn’t severely limit our choices.
Our Tile Choice (and Runners-Up)
This is the tile I liked as soon as I stepped into the store. Bellavita Boulder Series in “Snow” checks all our boxes. I love it.
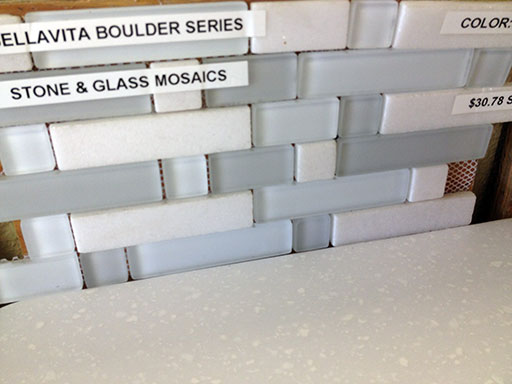
But just to be sure, we wasted another 2 hours looking at more tiles to make sure it was The One (it was).
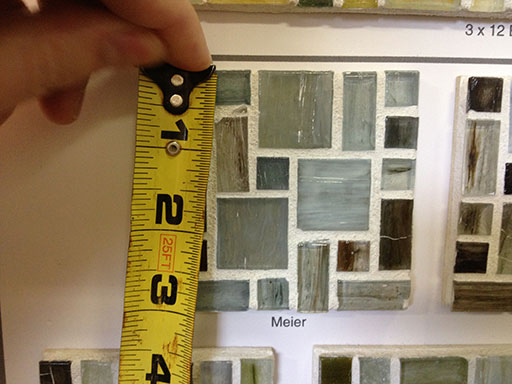
In the interest of sharing our decision-making process, here are some runners-up that didn’t make the cut. The one on the left was nice, and the 1″ tiles were perfect, but it was way more expensive. The one in the middle was ultimtely too dark and also too many fiddly bits to deal with individually for the edges/corners.

I super loved the look of this Meier tile but I didn’t super love its price, which if I recall was like $60 a square foot or something crazy. But I did seriously consider it for a few minutes.
We also brought a sample home to look at it there, because I like to be super-duper sure before I spend $300 on a nonrefundable box of rocks. Finally, we bought our 9 sheets and left satisfied with our decision. Our grand total for 9 sheets+tax came to $320.
Since these tiles are stone, we’ll have to seal them as well. (We’ll talk more about sealing when we get to the supply-buying and installation steps.)
The Tiles Arrive!
Tile for Less had our tile order ready for pickup in like, four days, so they arrived weeks ahead of our planned November installation. The tiles came in a square box and none of the sheets were broken or chipped.
Our box of rocks is home!
Stay tuned for Part 3, where we stick our box of rocks to the wall.