Garage painting part 2

Question:  What’s an easy way to make your neighbors think you’ve taken home updating too far?  Answer: Paint your garage interior!

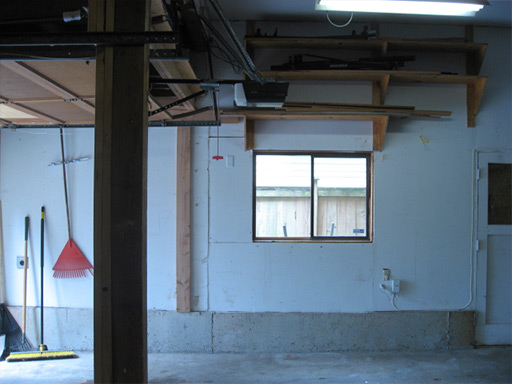
The wall featured in last week’s painting project is making the rest of the garage look seriously grody.  The garage is big and full of stuff, and some sections of its walls are in need of repair, so painting it will be a multi-step process.   Every neighbor who walked by quipped about turning our garage into a living room or some such, but the end result is worth it!  Who wants a dirty garage?

Uh oh, she’s got her painting clothes on…

Target sighted:

2 hours later:

Bet you can’t figure out where I ended the paint!  Okay, I’m kidding about that, but I stopped there because the wall to the right of the door is in terrible shape and will need to have its lower section replaced.  The door itself is a fright, and we’re still determining if we should try to salvage it or put in something new.

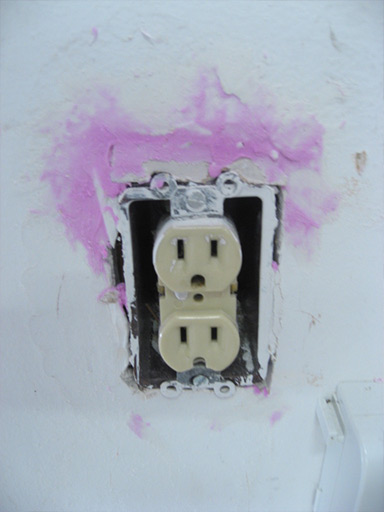
And…the BONUS PROJECT makes its comeback, with Jim back in the game now that his back is better.  Jim disabled the electricity and replaced the three electrical outlets with fresh new hardware.   The plugs in the garage as so worn, it’s impossible to keep a plug in without resorting to tape.  The wires were brittle and snapped off upon insertion, but Jim stuck with it and got ’em done.

This particular outlet had a 3/4” gap in the drywall above it, like whoever cut the hole in the drywall  messed up when measuring or cutting. Before painting this area, I cut a piece of drywall to fit from our stash of extra drywall and spackled it into place.

Sure, it’s not silky smooth, but the garage’s drywall is untextured and difficult to match to.  At least the giant hole is gone!  Check out Jim’s snazzy new plug and faceplate combo deal below.  That Verizon battery never had it so good (yes, I removed the battery and painted behind it.  We don’t paint around things in this house!).

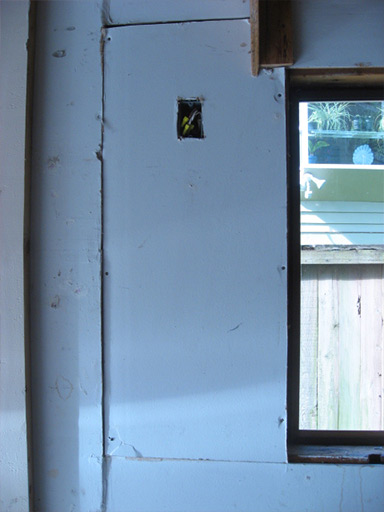
Oh, and the mystery wall to the left of the window?  It might’ve been cut to install this electrical box:

Someone had something in mind for here, but for now we just put the cover back on it.  I guess it’s nice to know we could have a really high up electrical outlet if we want one!  So how’s that for a fun Saturday project?  The 20 seconds I spent walking along this wall each day have just become a lot prettier!

Shedding the Shed

Here’s a summary of our shed story thus far:

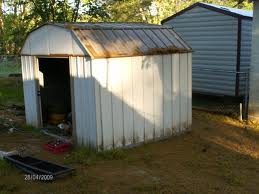
Our house came with a shed.  Said shed was ugly, old, and rusty.  Alas, I never took a photo of it before Jim spent an afternoon disassembling it.  Here’s a similar one from the web:

Here it is on our curb.

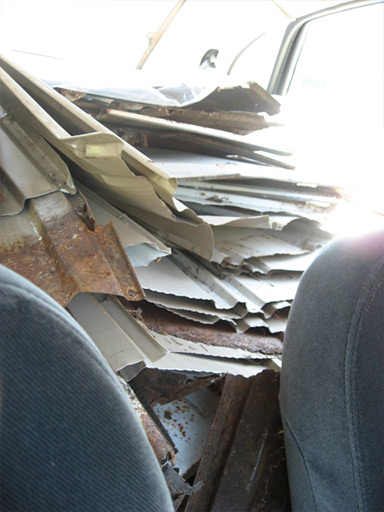
Unfortunately, the garbage pickup did not take any of this crap!  We hauled it all into our side-yard, which is more or less our dumping ground for stuff we can’t figure out how to dispose of.  It hides there until we figure out what to do with it.  It didn’t have to wait long:  a few weeks later, our city hosted a “bulk waste drop off” event for things like toilets and scrap metal.   We cut it up into small sheets and stuffed it into the car.

Here’s the shed, going to shed heaven via Ford Taurus.   Thanks to the plastic and sheets we put down first, the car suffered only a major dirtying, instead of a super extreme major dirtying.   Three trips later, we were rid of it!

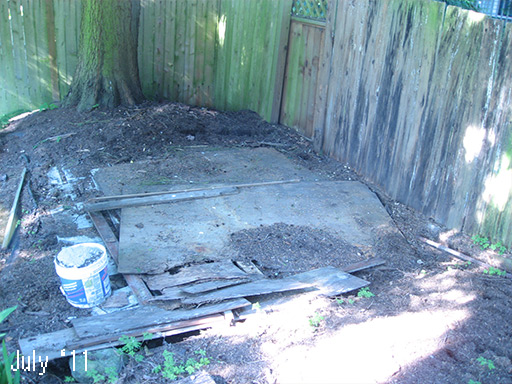
But we weren’t done yet.  The wood floor remained:

But our house came with a badass two-handed axe.  Jim happily chopped and chopped until these boards were broken into small enough pieces to fit into the normal yard waste and garbage pickup.

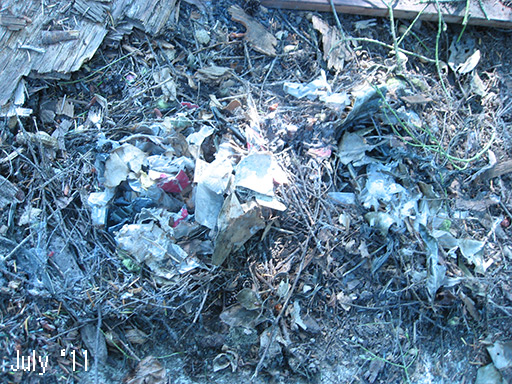
But what’s this?  There’s MORE?!  A nice layer of yard waste hid underneath the boards along with THREE rat nests!  Only one rat, though, and he scampered like hell when we tore up his home.  He ran right into the neighbor’s yard, where he may or may not have been promptly devoured by their dog.  Sorry, Mister Rat!

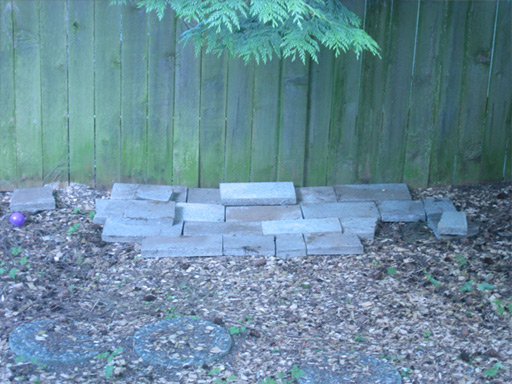
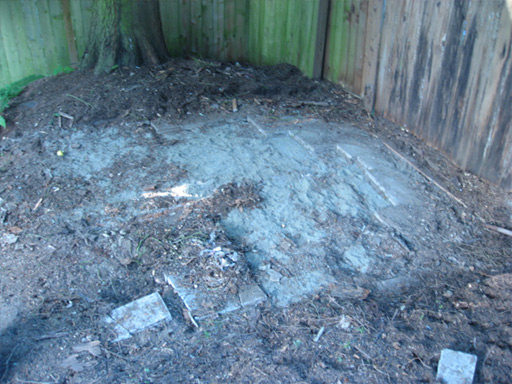
Underneath the yard debris of the ages is a layer of bricks!  We picked them up one by one and hauled them into the backyard, creating a few piles around the yard like so:

We’re only about halfway through the brick removal process, but when we’re done the entire shed area should finally be free of shed evidence!  Shevidence?

Either way, it’s good to be shed-free!

Hedges going, going, gone!

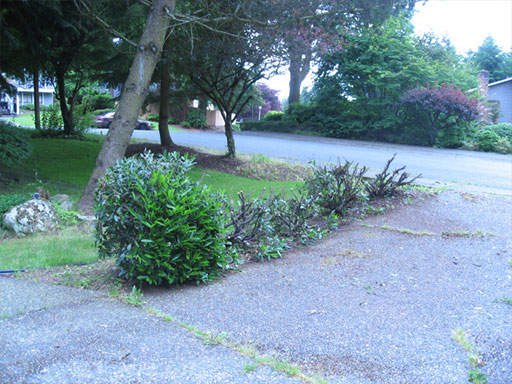
Last time I mentioned hedges, our hedge row was looking a little gnarly:

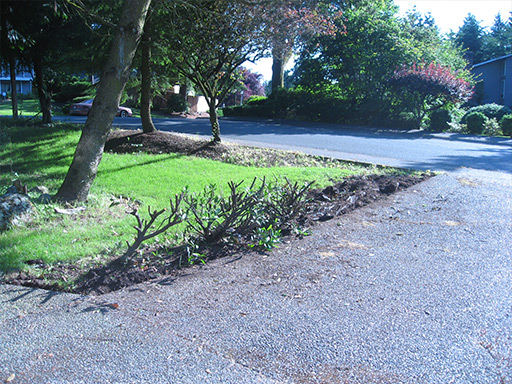
Jim and I spent Friday morning in the yard weeding the driveway and sidewalks, weeding the mulch, weeding the weeds… and I thought, why not see how hard it is to remove one of these hedges? As it turned out, it wasn’t hard at all. Some wiggling, some pulling, and some quick work with the shovel (and maybe the loppers and/or saw) and a hedge root comes right out!

Two down, three to go.

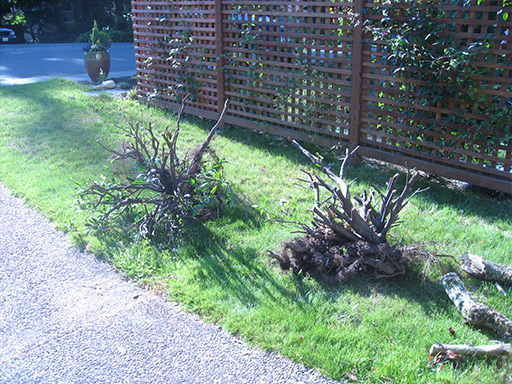
Here they are, chillin’ on the lawn. The roots are big and tougher to break down into yard-waste-bag size, but our new chainsaw helped on this front:

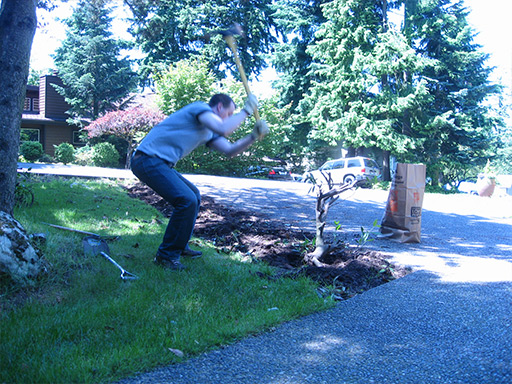
Jim levels up his 2-handed axe skills:

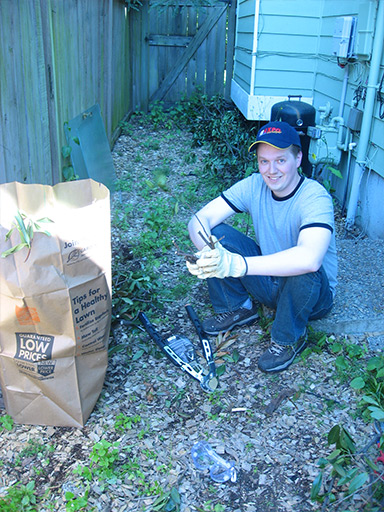
Jim and I then cut the hedge branches down to size before stuffing them into yard waste bags:

We are so over the hedge! Here’s our big and bulky “before”:

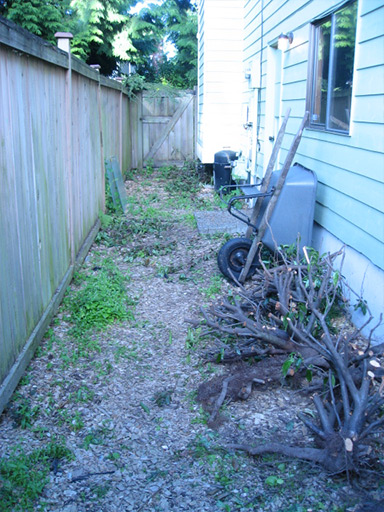
And here’s our open and airy “after”!

(We’re not quite done yet – the hedge roots are going to sit in the sideyard for a while until we figure out how to dispose of them. They can keep the shower doors company!)

$1000 DIY Bathroom Remodel: Finishing Touches and Budget Breakdown

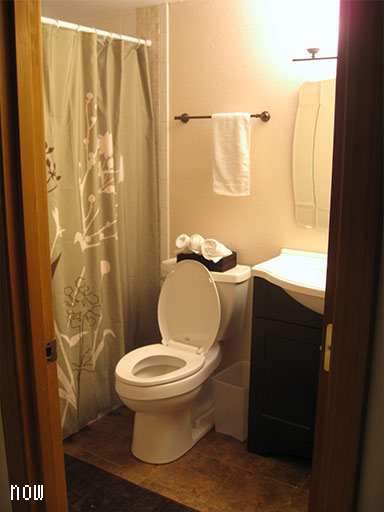
Our $1000 DIY bathroom remodel is complete! This was our first major home remodeling project in which we replaced a floor, a vanity, a toilet, and sliding glass shower doors (plus lots of little accessories).

Our upstairs bathroom “before” featured:

  • annoying vanity corner to bang your elbow on while using the toilet
  • glass shower door frame to bang your head on
  • storage cabinet that was both huge and too small to really store anything in
  • wobbly toilet that struggled to flush even the tiniest of loads
  • gold… everything

Our “before” was dated and the vanity and cabinet were crowding the toilet.

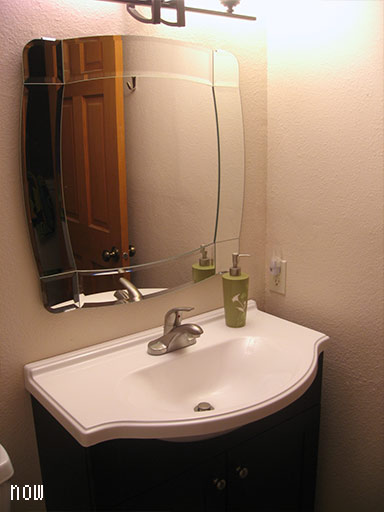
We ripped it all out and replaced everything with fixtures bought right off the shelf at Home Depot.  Our budget was $1000, and almost half of it went into the toilet and the vanity.  The other half of the budget went into <$100 stuff that added up, like grout paint, tiling supplies, a faucet, a mirror, and a new fan motor.


Our $1000 DIY Bathroom Remodel Budget

  • Demolition: free!
  • Disposal fees for old sink and potty: $20
  • American Standard Champion toilet: $230 (Update: 3 years later, this toilet is still a beast. I bought a second one for another bathroom.)
  • St. Paul vanity and sink combo: $200  (Update: 3 years later it still looks great.)
  • Moen Banbury dual shower head: $50 (Update: 3 years later we still love it, 100% recommend)
  • Flooring: about $70 worth of tiles, glue, tools, and related supplies
  • Delta single-handle faucet: $45
  • Plush rug: $30
  • IKEA Mirror: $30
  • Wall paint: “free” I mixed several color remnants I had in the garage into some white KILZ primer
  • Lighting fixture: $90
  • Shower curtain: Already owned (maybe $20 originally?)
  • Wall tiles: about $60 worth of tiles and grout supplies
  • Grout paint: $20
  • Caulk and caulk tools: about $10
  • Towel bar: $30
  • Towel hooks: $6
  • Trash bin: $10
  • Shower rod: $20
  • Can of wall texture spray: $12
  • Floor trim and miter box:  $40

Project total: About $993

The little things (especially tools!) add up, but considering this project began with a budget of $1000 I’d say we did pretty well!   We did all the work ourselves, relying heavily on the experience and insane work ethic of my dad.  Still, this project took several solid days of work, sometimes with all three of us contributing.  Many “loose ends” didn’t get tied up until weeks later.

Lessons Learned

Our first DIY bathroom remodel was nothing if not educational. Here’s some “pro” tips straight from the battlefield:

  • You really will need ALL of your tools.  Seriously, just bring every last screwdriver and wrench upstairs and dump it all in the hall before beginning.  Our entire upstairs became a shin-high flood of tools.
  • You will go back to the hardware store daily, sometimes twice daily, to keep the project moving along.
  • Demolition is 10% of the job…no, 5%.  Don’t get optimistic just because the room’s gutted.  You’re still watching the ads before the trailers even begin!
  • Removing a shower door framework does bad things to tile!
  • It’s impossible to match tile. Once tile has fallen off the wall (and shattered), you’ll never find a match.  Don’t even waste 3 days trying like we did.
  • Just give up trying to clean grout to original condition and paint it instead – looks great!  (Update: 3 years later, it looks as good as it did the day we painted it.)
  • Being without your only functional shower for two weeks sucks, even when you are already accustomed to showering at the gym 5 days a week.  We discovered our master shower was leaking and stopped using it, but we also couldn’t shower in this new one until it was fully sealed, which we couldn’t do until we repaired the grout and painted the existing grout.  I love the gym, but going every single day just so I could use the shower was brutal.
  • Disposing of your garbage is a real challenge. The garbage pickup won’t take it and the city disposal event wanted $10 a pop for the toilet and sink.  We had to haul it all to the dump ourselves.
  • Dad is a floor-gluing, toilet-installing, tile-buttering, plumbing-fixing GENIUS MACHINE.  Couldn’t have done it without him!!