Hauling Away an Old Concrete Patio

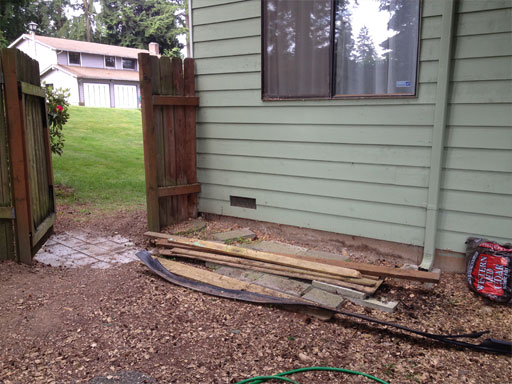
Underneath our deck are the remains of …another deck. Someone just chopped up the old patio and just built a new deck over it.

concrete under wooden deck

Old patio in a chopped up heap under our wooden deck.

Well, whoever you are, you win the lazy award, and I win the I cleaned your mess up award.

The age-old DIY’ers dilemma applied here big time: was this job worth calling a pro?  Surely Jim and I can haul concrete.  Let me say, after watching these two guys toil away for two hours, I’m very glad I called a pro for this job.  The workers crawled around in rugged terrain, pulling the chunks out by hand, and hauling them up our hill and to their truck in a roughneck bin. If you’re in the Puget Sound area and you need some debris hauled, give Low Rate Hauling & Demolition a call – they were crazy hard-working and they came out just hours after I called.

Apparently, no matter how unwanted your cement pile might be to you, there’s someone out there willing to haul it away for a couple hundred bucks.

deckDebris_4

deckDebris_2

Beautiful! Never thought I’d say that about a space under a deck, but yup – this is beautiful.

deckDebris_3

They also hauled away our pile of scrap wood from the shed tear-down and the toilet we replaced a few months ago.

yardDebris_wood

Good riddance!

Happy COUCH DAY!

It’s COUCH DAY!

Let’s back up a tiny bit and tell this story from the beginning.

Friday Night:

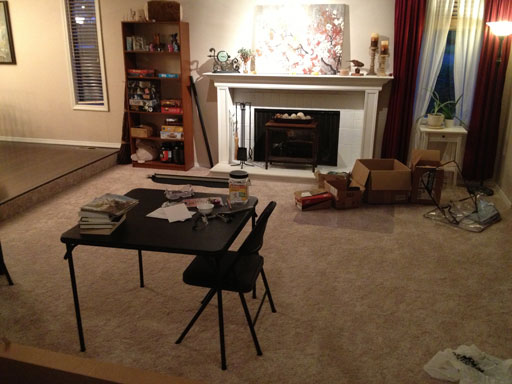
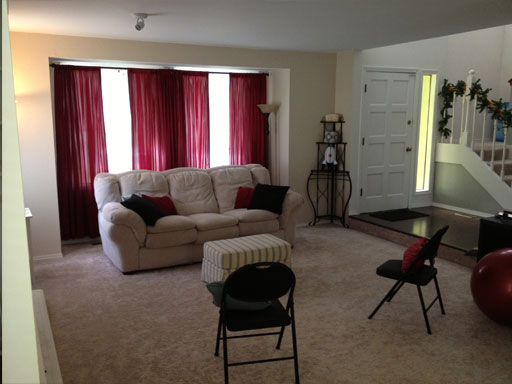
This is living room’s before. Exposure to this room would be fatal to a low level decorator. We haven’t shown this room the love that we have the rest of the house.

I didn’t pretty it up for these “befores” and this is how it typically looks. It’s a junk drop and a laundry depot, complete with Amazon boxes, stuff to donate, car accessories, a card table, and some My Little Ponies. Hey, at least it’s convenient!

I cringe when people come inside and see how empty this room is. “But, furniture is expensive…” I’d say. Especially furniture you don’t even use every day.

But since Karl the Kouch is on its way, ole Puffy is going to move into this room!

livingRoom_1

livingRoom_2

livingRoom_3

Saturday Morning, 8:30:

The movers are here! They shrink wrapped the couch (at my request – I provided the moving wrap) and pushed its fat puffy butt out the back slider door and into the back yard. It was definitely a tight squeeze. Did the couch get bigger since we moved it in? lol.

Here’s Puffy going through the backyard:

livingRoom_4

The whole process of moving the couch from the family room to the living room was over and done with in a matter of minutes – signing the release forms took longer than actually moving it.

Still, I’m glad we hired movers. It’s just not worth risking our backs struggling with the couch. Sometimes it’s good to hire help.

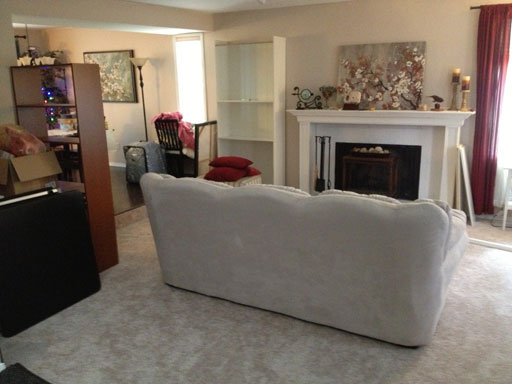
Boom, here it is:

couchFacingFireplace

Saturday Morning, 9:00:

The movers left just in time for the IKEA truck to arrive with Karl. IKEA sent two guys to assemble it and they were done in about an hour. (Jim and I finished building our new bookshelf in the living room while they worked.)

Assembly was worth every one of those $39. And the room just swallowed the couch! This had the unexpected side effect of making the 37″ TV look really small, but we’ll get to that later.

newCouch_4

Saturday Afternoon:

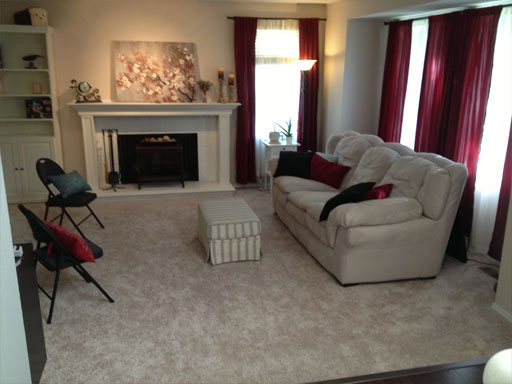
I pushed the old bookshelf and donation stuff to the corner and made the rest as good as I could get it with strategic application of throw pillows and folding chairs. The folding chairs will become fancy accent chairs with awesome fabric patterns at some point in the (very) distant future. I have a hard time justifying spending money on non-essential furniture. This is why we have so little furniture. :)

The bookcase came together beautifully. At $400 this is one of the most expensive bookshelf choices at IKEA, but the $60 bookshelves looked cheap and didn’t have the nice option to add doors. We were ready to buy a quality piece of furniture for this room, and I’m glad we went for it. The doors are hiding the rest of our board-game collection. :D

livingRoom_5

livingRoom_6

livingRoom_7


As for the family room…

Our seven year old TV really was dwarfed by the new couch and the general size of this room and hard to see from further back. The Olevia is still a great TV, but it’s from an era where we lived in an 1000 sq. ft home and our income was less than half what it is now.

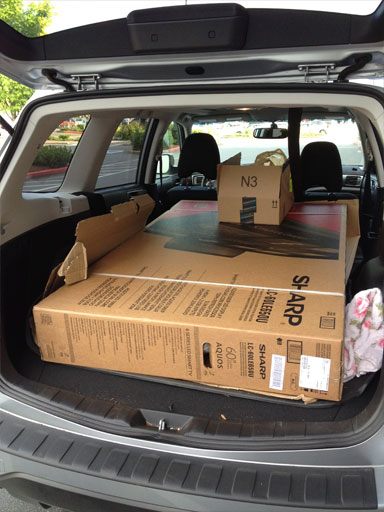
So we took the plunge, spent some of that New Furniture savings we’ve been building up, and brought home this beautiful baby:

subieTV


37″ Before:

newCouch_4

60″ After:

newCouch_6


I feel so very privileged! (Warning: soapbox time) I love this TV, and it’s great to have nice things, but I’m a little embarrassed because conspicuous consumption (and consumption in general) is very much not my thing. I know we live at a high standard of living, but not everyone in the world, or this country, or even my own city, lives well. That deeply upsets me.

I donate to homeless charities, give away everything we don’t need, and vote for social support, but it’s not enough. Every day we drive by at least one person holding a sign begging for money. How unfair is that? Alas, this is where my mind goes when I acquire something nice.

As we were hauling it in from the car, a neighbor walking by took one look and said, “Once you go 60 inch, you never go back! Hah!”. I guess huge TVs and new cars are like a joke everyone else in the neighborhood is in on. We are not comfortable with luxury yet. We may never be.

But we will enjoy our new family room and living room. :)

leveledup_blue

Total project cost: $2800

Karlstad IKEA couch + delivery + assembly: $1000

Movers for existing couch: $120

Sharp 60″ TV: $1200

IKEA Bookshelf + Doors: $400

$2800 to make-over two rooms and add a brilliant new TV to our home is an awesome price that even a tightwad like me can feel good about. This is totally doable if you sock away some savings each month, and I’m hoping our choices here will last us for many years to come.

The 37″ Olevia’s moving upstairs to fill a corner in the computer room. We’re going to hook up the Nintendos and use it as a dedicated retro gaming television. I have a game of Chrono Trigger I started last year before we moved the small TV out the garage, so I’m eager to set up a TV in here again and pick up where I left off. :)


Free Redecorating: Flip a Room

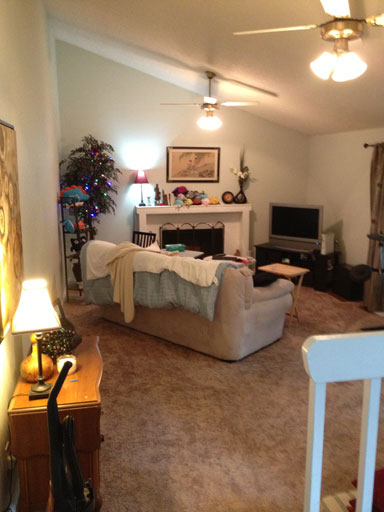
The family room (okay, all our rooms) are pretty thrown together – they’re just full of the stuff we still have after multiple moves and everything is where we decided to put it on the hectic move-in day. The couch is from 2006 – it was the very first thing I bought for my apartment when I moved closer to my first job.

Anyway, now that we’ve been here two and a half years, there’s some bandwidth for thinking about the way rooms are arranged and potentially upgrading some of the furniture. I hate to get rid of perfectly useful stuff (I’m also super cheap), so I wanted to see if just moving furniture around would make me feel better about the room. That’s free and easy.

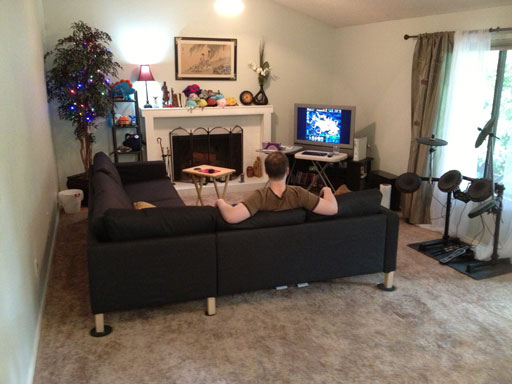
Here’s the original arrangement:

dec12_tvroom

Here’s the new arrangement (+grubs on the mantle):

FlipFamilyRoom_1

This is nice, I like it.

I like that the TV and fireplace are more of a set and a centerpiece to the room. I’m sure an interior decorator somewhere is cringing, but it’s hard to argue with a free room refresh via re-arranged furniture.

We also used this as an excuse to further thin out our book collection. Go to your bookshelf and find three things you’ll never read again. Remove them. Feels good, doesn’t it? Do it a few more times, and now you have room for new books!! :D

Other Rooms We’ve Flipped:

Dining room – rotating the table 90 degrees opened up new “traffic” patterns and improved the view for both of us!

Family room (apartment) – flipping the whole room 180 degrees put the TV in front of the fireplace, but improved traffic flow and lighting.

Bedroom (my first apartment) – changing which wall the bed was on improved airflow and made the closet more accessible.

Yardmageddon 2013: Part 2 – Terraforming

Continuing in our theme of outdoor experimentation, this weekend we planted grass seed.  The area where we planted was a mix of weeds, mulch, and some small patches of grass that naturally found its way into this area.  The goal is to fill this area in with grass, which will hopefully be easier to maintain than the mulch is.

Step 1: Pull out all the weeds

Step 2: Aggressively(!) rake the mulch so it’s not just a flat surface of packed down wood chips and dirt

Step 3: Empty a few bags of lawn soil over the area, rake it into the existing mulch/dirt mixture

Step 4: Spray grass seed all over the new soil/old soil mix

Step 5: Rake again to mix the grass seed into the new soil/old soil mix

Step 6: Water for ~10 minutes! (This day, and just about every day after until well-established)

Our afternoon, in photos: 

These long strips of edging are just a massive pain in the ass.  They’re hard to mow around, easy to trip on, they look like shit when they start breaking and popping out of the ground, they’re horrible to remove, and I have no idea how we’ll dispose of them so they’re piled up in the backyard.

GrassSeed_PullUpEdge

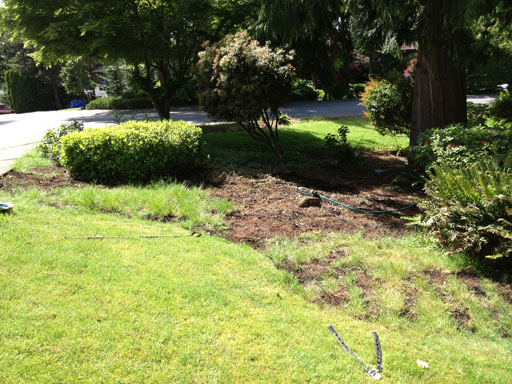
Here’s the area we’re working in:

GrassSeed_before

The evergreen’s stump makes a nice seat for the sprinkler.

GrassSeed_before2

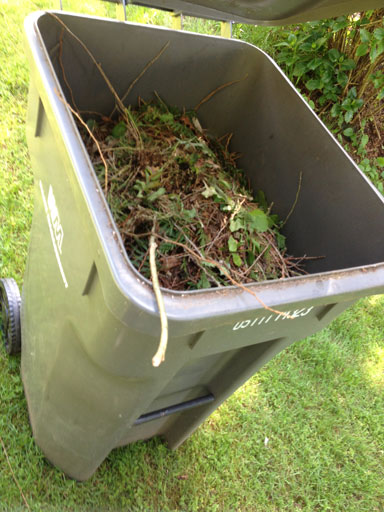
This bin is packed with weeds from this area:

GrassSeed_bin

These are our supplies: Scotts Turf Builder LawnSoil and Scotts Grass Seed.  We’ll know in a few weeks if this stuff actually works.

GrassSeed_Supplies