Project Wrap Up, Project Wrap Up!

( To the tune of Winter Wrap Up ! )

Yesterday (Saturday) was one of those marathon days where all the last pieces come into place for numerous projects around the house!  Behold, our death march:

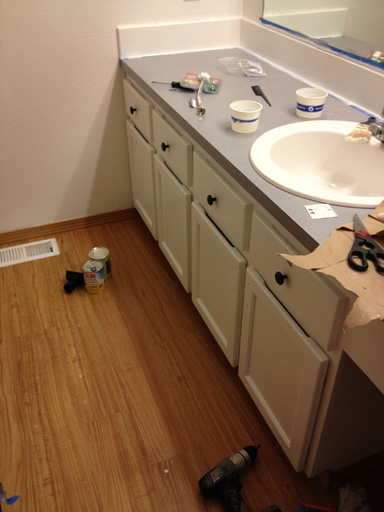
1) Hung the finished cabinet doors in the bathroom

2) Installed the new knobs and pulls  (except for the big drawer, which needs a knob that fits a larger screw than the rest of them)

3) Stuck on little clear bumpers to prevent the painted wood from knocking against the frame when the drawers and cabinets close.

wrapup_bath1

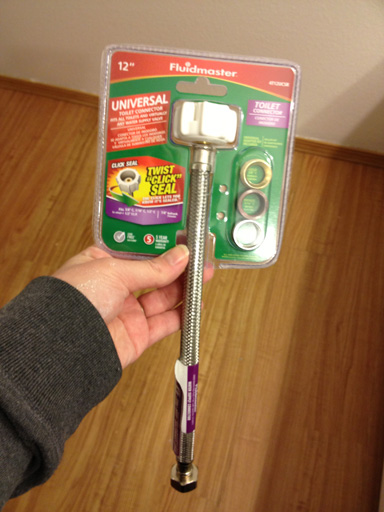
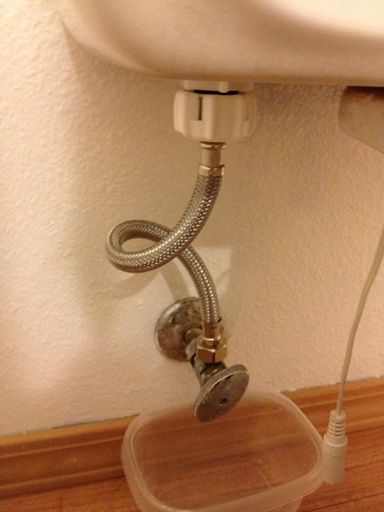
4) Installed a new water supply for the toilet, which has been leaking despite efforts at tightening the bolts.  This sweet water supply kit came with multiple washer sizes, which was great because I had no idea what size ours would need and our Home Depot is annoyingly far.

wrapup_bath2

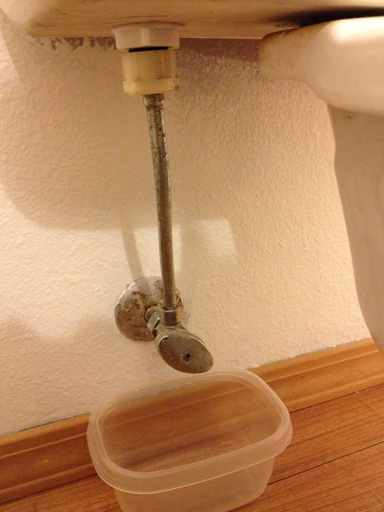
Here’s the awkward and corroded metal pipe it replaced:

wrapup_bath4

Draining the toilet tank: wrapup_bath3

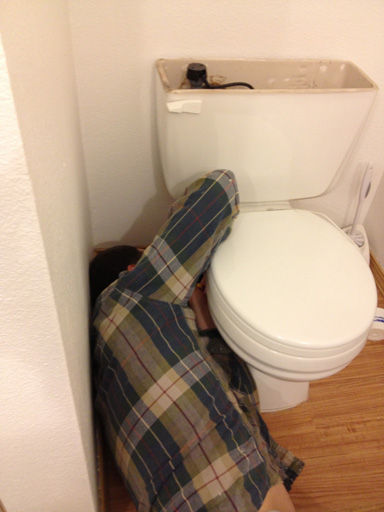
Working in the awkward toilet cubby:


wrapup_bath5

It’s off!

wrapup_bath6

It’s on!

wrapup_bath7


5) In the spirit of finishing long-overdue projects, we finally installed the drawer pulls onto the kitchen’s two drawers.

Here we are lining up the template… wrapup_kitchen1
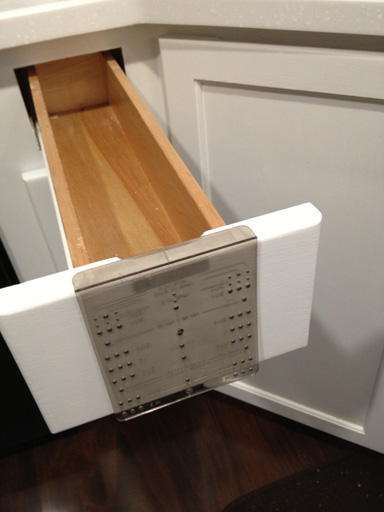
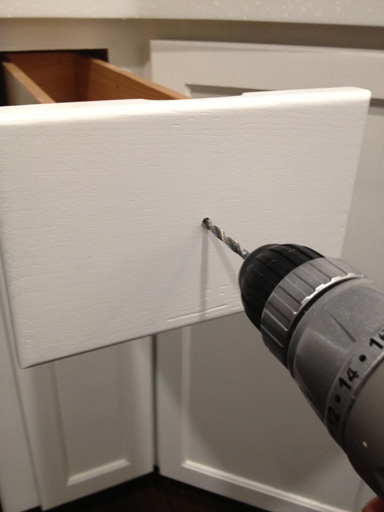
…drilling…

wrapup_kitchen2

…done!  Why did we put this off for 8 months?  I have no idea.

wrapup_kitchen3

6) ATE THIS DELICIOUS BLUEBERRY BREAD OMG

omgyum

7) Shut off the electricity to downstairs and replaced two receptacles and four switches.  The receptacles, even with all their fat hard-to-bend wires, were the easy part for once.  The switches gave us far more trouble.  After wasting 30 minutes trying to figure out what the hell was wrong with the wiring on the two slider door switches, I called my dad who pointed out that the switches are actually linked and use special hardware referred to as a “3-way switch”.   One (surprise) 40-minute trip to Home Depot later, we had the correct hardware and functioning switches.

8) Moving right along (now with functional switches and outlets!) we built a plastic cocoon for the range hood and applied spray-on ceiling texture over the now-dry spackle

wrapup_ceilingtexture1

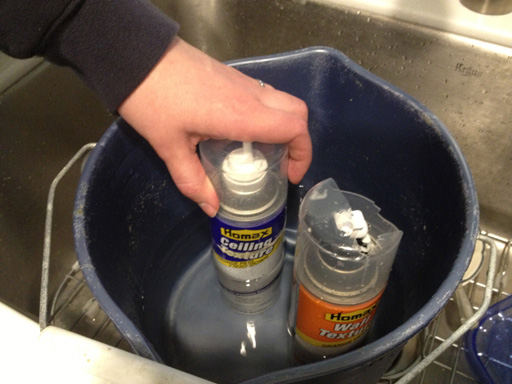
One secret to successful ceiling texture: warm up the cans in a hot water bath before use

wrapup_ceilingtexture2

9)  Removed all the painter’s tape from bathroom mirror and backsplash

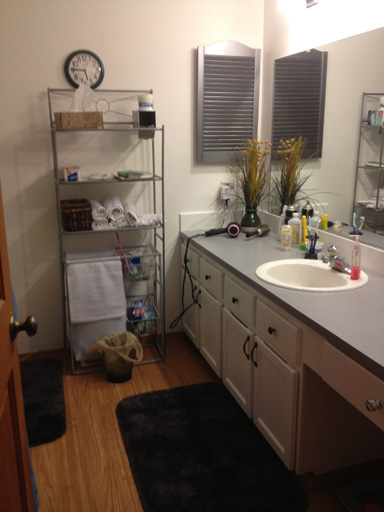
10) Put everything back into the bathroom 

wrapup_bath8

11) Installed two shelf brackets under my standing desk to stabilize it.  Read about my standup desk project here: Part 1, Part 2.

12)  Put everything away: all of the tools, tapes, levels, paint, plastic, work clothes, vacuumed our work areas and basically returned the house to presentable status.  This deserves its own step: project cleanup is a project in itself.

13) Collapsed from exhaustion sometime around 8pm.  Mission complete!
Refinishing the Master Bathroom Vanity, Day 4

It’s enamel day! But first, I’m going to scrape out all this shitty shelf paper from the 70s.  The shelf paper has always been torn and stained and half-missing, so the way it looks in this photo is actually how it looked all the time.

day4_scrapingshelfpaper

The primer’s dry so I started first thing this morning in hopes of having enough time to do two coats before bedtime.  The can recommends a 16 hour dry time, but I used a 10 hour dry time between coats on my kitchen cabinets and nothing exploded so…

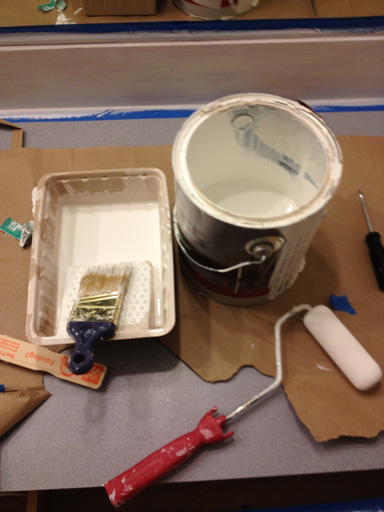
My supplies:

day4_supplies

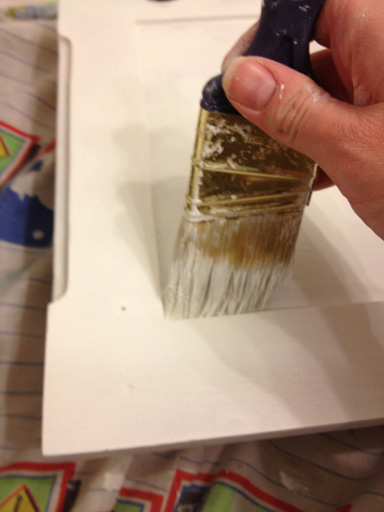
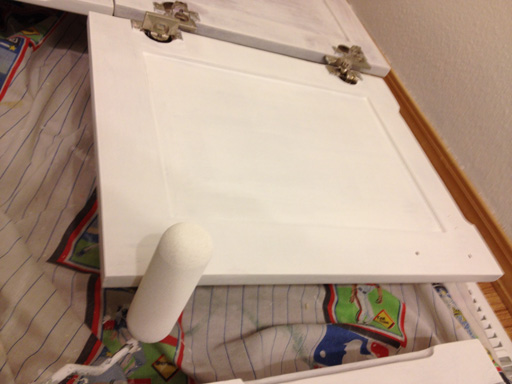
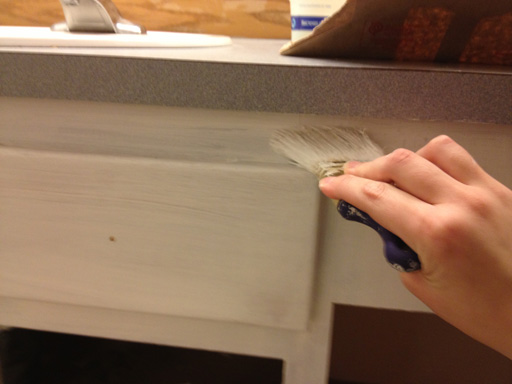
This is a straightforward process: take the paint from the bucket, get it on the brush and the roller, and apply it to the primed surfaces.  Avoid pooling and dripping – multiple thin coats > fewer thick drippy coats.

day4_brush

day4_rollering


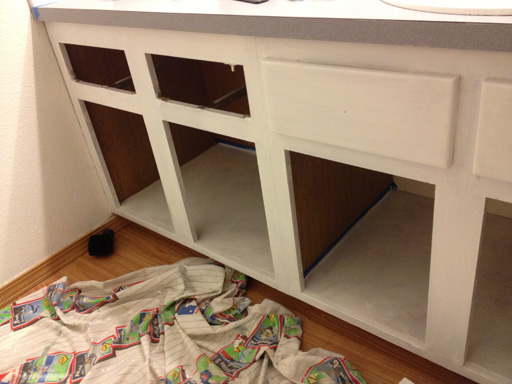
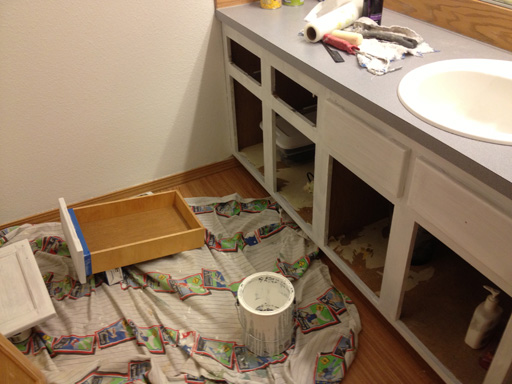
Here you can see the primed shelves within the cabinet.  They’ll get the same primer and enamel treatment, which should hold up fine to the occasional shampoo bottle shuffle. Much better than the nasty paper!

day4_paintedframe

That’s where I left it today around noon.  I’ll come back around 8pm and do another thin layer on everything.

I put the finishing touches on everything the next day.

Refinishing the Master Bathroom Vanity, Day 3

Today I finished sanding (WOOO) and began priming!

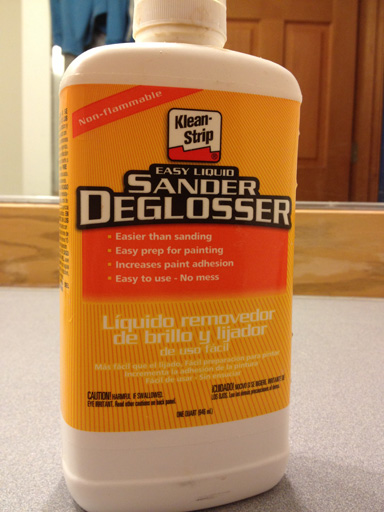
In between those two steps, I spent nearly an hour vacuuming sanding dust out of everything and off every surface about to be primed, and before I actually began painting on any primer, I used this liquid deglosser on every surface I intend to paint (wood and painted frame alike).

deglosser

With everything so aggressively sanded this feels like a formality, but hey, anything that helps the primer and paint stick is good in my book (and I already own the stuff).

I like to apply paper-thin coats of primer.  There are many advantages to this: 1) cuts down on primer use (primer is for holding paint on, it’s not for coverage – that’s what paint’s for); 2) reduces the chances of drips or pooling and 3) dries fast!

priming_brush

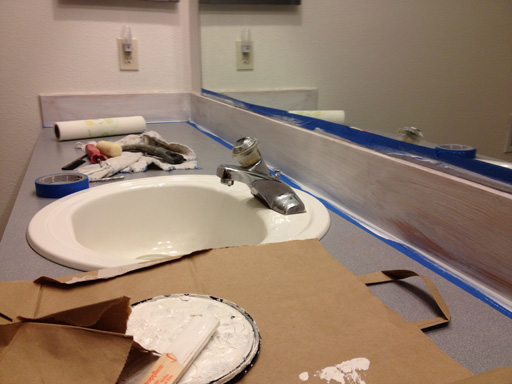
I would have rather pulled out this backsplash in preparation for tiling something, but I’m 99% sure it’s bearing the load of the mirror.  Not wanting to deal with removing (and replacing) this gigantic (and really, quite nice) mirror, I decided to make the best of this backsplash situation by sanding and painting it along with the rest of the vanity.

The countertop is lavender (which is probably my least favorite color ever) but I feel like it’s looking a lot more grey as the rest of the room’s lavender (walls, vanity frame) gets painted over.  Someday I would like to put another nice solid surface countertop in here, but that can come later.

priming_backsplash

priming_room

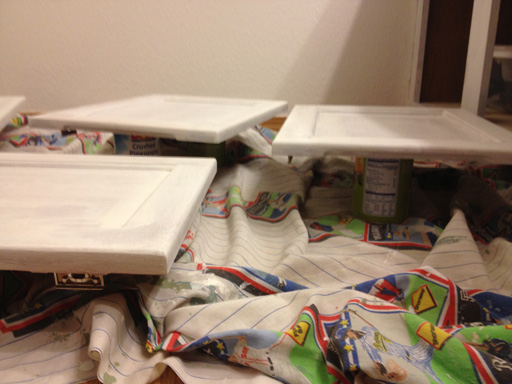
The cabinet doors are sitting atop various canned foods to dry.  This method served me well when I was refinishing the kitchen cabinet doors and continues to serve well here, allowing the sides to dry and drips to fall (instead of pooling on an edge).

priming_cabinetdoors

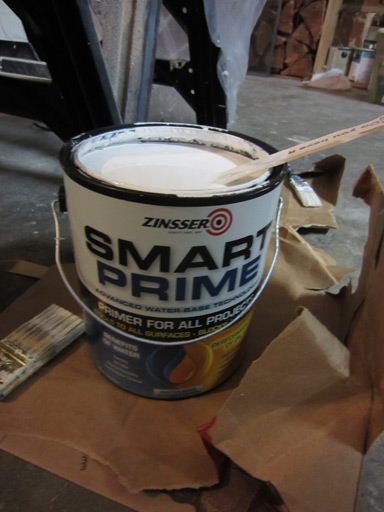
I am using my favorite primer, Zinsser SMART PRIME, which is the same stuff I used for the kitchen (which has held up fabulously over the past almost-year):


Continue on to Day 4 here!


Refinishing a Wood Bathroom Vanity (Part 2): Scraping and Sanding

bathroom_sand

Today we’re gonna scrape and sand and scrape and sand some more!

Welcome to Part 2 of this series on refinishing a wood bathroom vanity.

Catch up on Part 1 – Preparation & Stripping here.

Yesterday, we smeared stripping gel onto the vanity’s surface and left it to work for 24 hours. Next step: scraping and sanding the gel stripper and the varnish off the cabinet faces in preparation for painting.  This step is messy and time consuming: it took me about 40 minutes to prepare each individual cabinet door for painting.

Plan to spend at least a few hours scraping and sanding, depending on the size of your vanity.  Hang in there: this step is essential for getting your paint (or stain) to coat evenly and beautifully!

Cabinet Scraping & Sanding Supply List

Here’s a handy list of every tool I used to scrape and sand my wood vanity:

Paint Scraper

Paint scrapers are cheap but essential – you’ll need at least one to properly remove the stripping gel and varnish from your cabinet faces.

Handheld Corner Sander

You’ll need a “palm sander” for sanding the cabinet faces prior to painting.  I’ve tried, and do not recommend, trying to sand by hand.

black and decker mouse corner sander

My Black & Decker mouse corner sander has helped refinished both my kitchen and my bathroom cabinets.

Sanding Pads

The sandpaper that goes with corner sanders is special: they’re shaped like little pressing irons and the velcro backings are designed to hold them onto the sander.  I used both 80 grit pads (for varnish removal) and 220 grit pads (for lighter touchups).  You’ll need multiple pads, since they get gunked up.  I think I used 4-5 pads from the 80 grit set and 3-4 from the 220 set.

refinishing a bathroom vanity scraping and sanding grit

80 grit and 220 grit sandpaper for corner mouse sanders.

Paper Towels

You’ll need paper towels for wiping away used stripping gel and varnish.

Protect Thyself

Skipping this step is likely to leave you with debris in your eyes and lungs (which you will cough out over the next several days).  Here’s my el-cheapo solution, which has served me well for a few projects now:

This particular style of dust mask is nice because it has two separate elastic bands, one for going over your ear and one for going under.  This lets it avoid all my cartilage piercings. :)  It pinches nicely over the nose and somehow breathing into it does not fog the goggles.

The high school chemistry style goggles are much preferred over glasses due to the nature of dust floating everywhere.

Not shown are my earplugs, which I HIGHLY recommend when working with power sanders and shop vacs.  If something’s going to damage my hearing, it better be concerts and not power tools.

refinishing a bathroom vanity self protection

Sanding creates a lot of debris – keep it out of your eyes and lungs with some simple protection.

It’s not 100% perfect – there’s a small gap between the facemask and the goggles, but it works 99.9% of the time and was super cheap compared to some of the more serious protective masks I’ve seen for sale.

Scraping off the Citristip

Using your handheld paint scraper, push firmly and work with the grain of the wood.  I usually go over an area at least a few times before moving on.  Remove the clumpy Citristrip/varnish/paint bits with a paper towel. It’s important to remove all of the Citristrip and varnish before moving onto sanding: if you don’t, the leftover stripping gel will just crud up your sanding pad.

refinishing a wood vanity scraping off old varnish

You should remove the cabinet mounting hardware before beginning this step – I was so eager to start scraping that I removed it later, after it got full of Citristrip. Boo.

Sanding

Start with rough sandpaper (I use 80 grit for this step) to sand off whatever varnish and gel still remains.  I highly recommend my Black & Decker electric “mouse” sander.

repainting a bathroom vanity using a corner sander

This sander is LOUD. Wear your earplugs!

This whole process takes about 1 hour for a single door, 30-40 minutes for a drawer.  This was tedious and laborious and I split up the sanding over two real-life days.

refinishing a bathroom vanity sanding cabinet faces

The day’s done: here’s my progress on scraping and sanding this vanity’s doors and drawers.

Arms tired yet?  Part 3 demonstrates priming in preparation for painting!