Budget DIY Kitchen Remodel: Pantry Makeover (Part 2)

… I continue my quest for a pantry that isn’t nicotine-colored!

The shelves were first primed on both sides (with 2 days or so of dry time in between), and then painted with the same Benjamin Moore enamel stuff on both sides.  With nearly 7 days of drying time completed now for the undersides of the shelves, it was time to return them to their rightful place in the pantry.

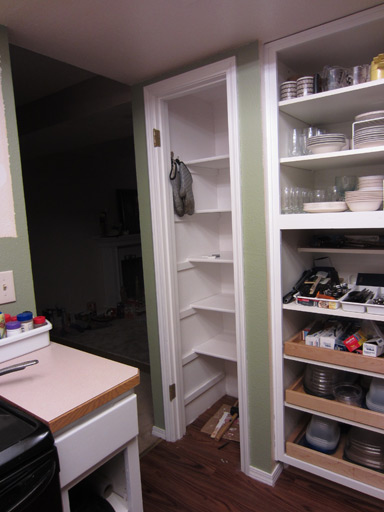
Behold, a crisp, white pantry!

I want to be good and sure the shelves are fully cured before I jam all my crap back into the pantry, so I’m going to let the shelves continue to dry for a few more days.
Budget DIY Kitchen Remodel: Pantry Makeover (Part 1)

Our kitchen includes a narrow pantry.  Judging by the craftsmanship, it was probably some previous owner’s project.  All they did was nail some thin strips of wood to the walls and set shelves on top.  Not bad.  I would’ve done it differently, but I don’t have bandwidth to change it up significantly.  So I’m going to just give it a makeover, rather than complete cosmetic surgery.

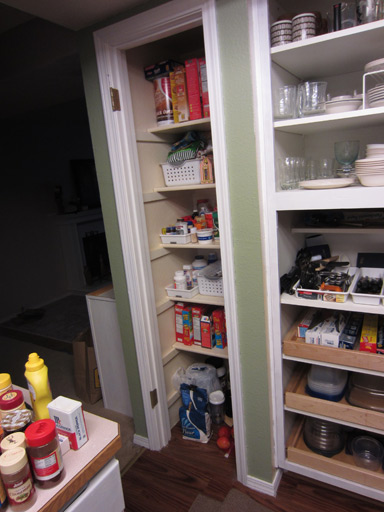
Here’s a “before”:

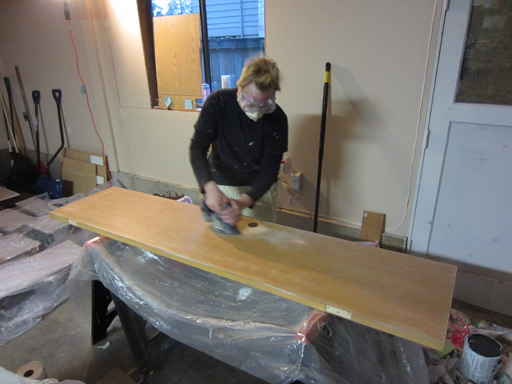
First thing I did was pull all our food out and put it in the living room.  Jim worked inside, deglossing the pantry interior and shelves while I got to work on sanding the pantry door.

Next up: priming the door, the shelves, and the interior of the pantry.  All told, it only took about an hour and a half or so to accomplish all that and get back to the “waiting” step as it all dries!  Best of all, these were the last primer-related steps.  On to enamel!