Here are are in Part 5 of our DIY kitchen backsplash – the homestretch! In this detailed post, I’ll show you all the steps to grouting your backsplash tiles.
Catch up on our DIY kitchen backsplash series through these links:
- Part 1 – Planning a DIY Kitchen Backsplash
- Part 2 – Choosing the Right Tiles for your DIY Kitchen Backsplash
- Part 3 – DIY Kitchen Backsplash Supply List
- Part 4 – Installing Backsplash Tiles
- Part 5 – Grouting Backsplash Tiles (You are here)
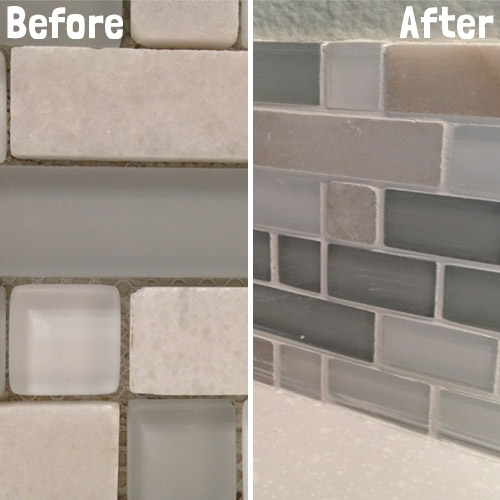
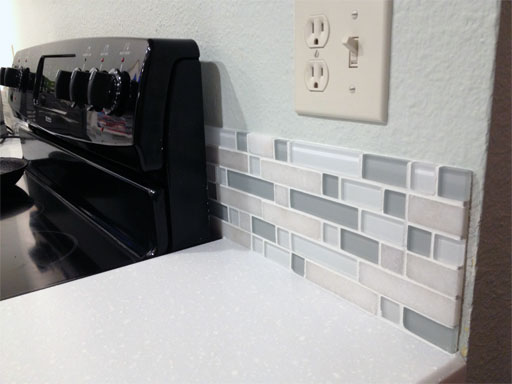
The tiles have been mortared to the wall, and after 20 hours of dry time we’re ready to fill the gaps between the tiles with a non-sanded grout.
Let’s get started!
Mixing Grout
Just like making mortar, making grout involves a box of grout powder from the local hardware store, water, and a bucket. We cut the box’s formula in half, figuring that our 8 sq feet of tile didn’t need 20 sq feet worth of grout. (We still had plenty left over.)
Tip: Don’t start this step unless you have the next 4+ hours available.
Water + non-sanded grout powder + bucket = grout. We followed the box’s instructions and mixed it up with a metal scraper. (See the Supply List for a detailed list of everything we used.)
It’s like a thick frosting, except not delicious.
Applying Grout
Get a nice big glob of grout onto the float trowel and smear it on! Grouting is messy, tiresome business: apply it with a firm, strong arm so it squishes into the gaps between the tiles. Continue around the entire backsplash. Use your fingers to get grout into corners or places the trowel won’t fit.
Our 8 square foot backsplash took the two of us well over an hour to get grout into every crack.
Tip: Remember, you’re working against time here because the grout is slowly drying and hardening as you work. A sheet of plastic wrap over the grout bucket can help slow the drying. If you have a very large area to grout, consider working in phases or getting more helpers.
I used my fingers to stuff grout into the corner where the tiles meet..
…as well as into the tight area behind the faucet:
Cleaning Grout off Tile Faces
When about 75% of the cracks were filled, my helper switched to using a moist sponge to wipe grout off tile faces as I continued applying grout to un-grouted areas.
Tip: Go slowly and use a moist, not a wet sponge. Remove grout in layers. If the grout in the cracks starts to flow out of the cracks when it gets wet, wait 10 minutes before trying this step again.
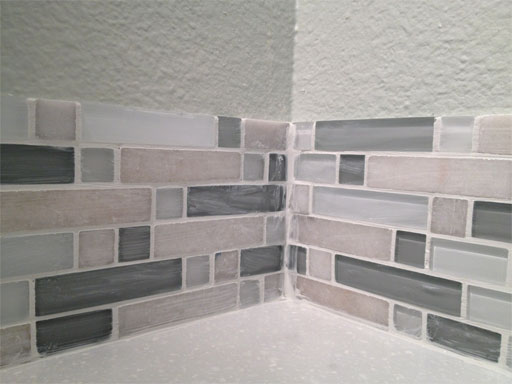
Once the bulk of the grout was removed from the tile faces, I switched to using moistened paper towels to remove the final thin layers of grout from the tile faces, paying extra attention to the corners. This was tedious, careful work, but it left the tiles looking crisp.
Polish, polish, polish – this step is super tedious but 100% worth it. Get those corners sharp, it makes a difference!
Grout Drying
We let the grout dry for just over an hour before returning to wipe any remaining haze off the tile fronts. The grout now has to dry for three days before applying a coat of sealer.


